Silent Auction - Setting up an event
Overview
GiveTap Silent Auction is designed to make running your silent auction events easy and stress-free. You can create as many events as you like and auction unlimited items per event. The platform supports payments by Stripe and Square and supports saving a card on file or payment after the event by payment link.
Each event is self contained and users that sign up on one of your events will not automatically have an account on your future events.
Event creation process
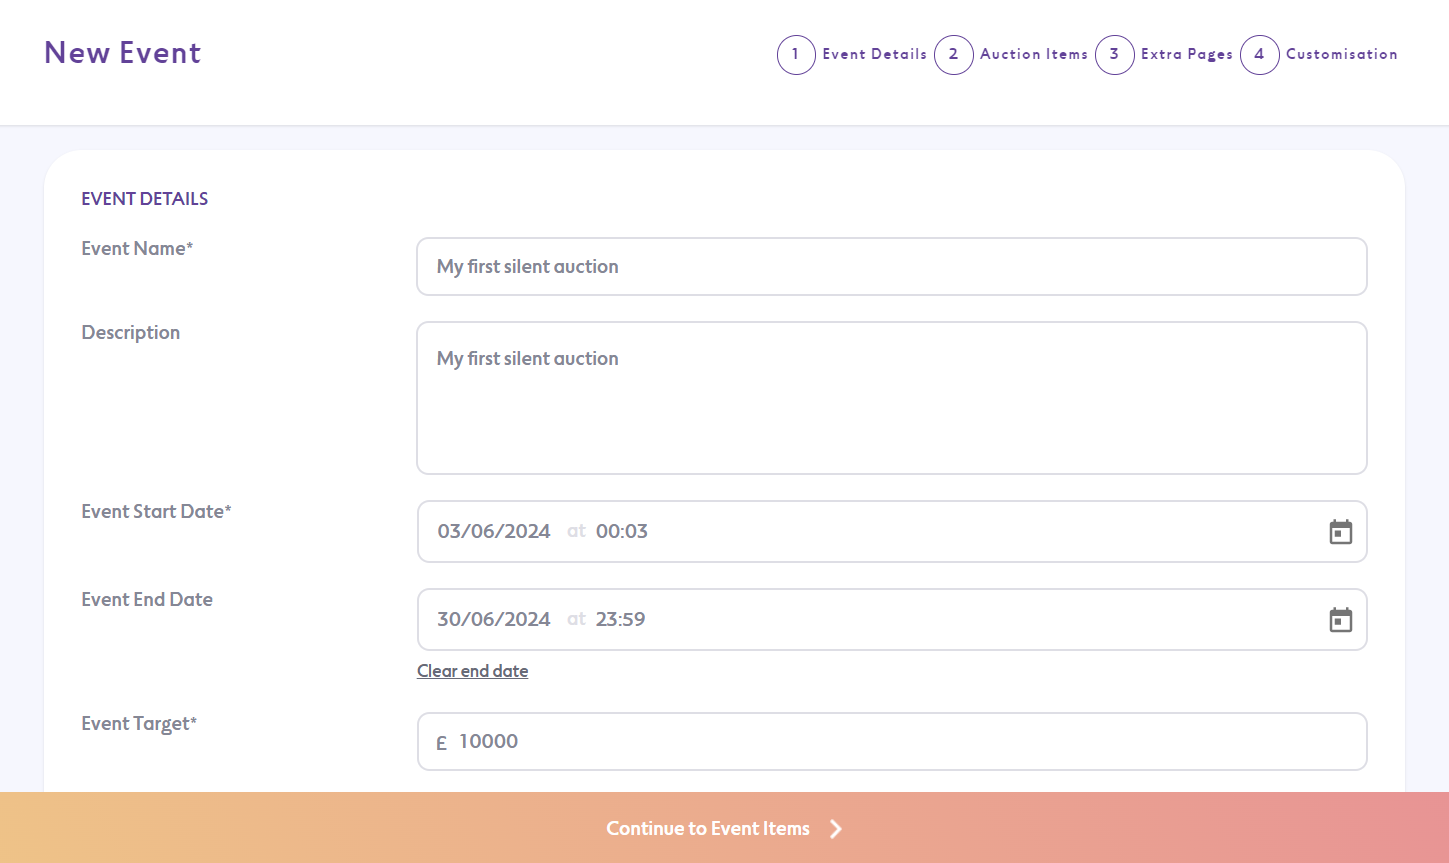
To create an event click ‘Silent Auction’ on the left hand navigation menu and then click ‘Create Event’. The first step of the event creation process is ‘Event Details’. Here you have the following options:
- Event Name
- Description
- Event Start Date
- Event End Date
- Event Target: The amount you’re hoping to raise at your event
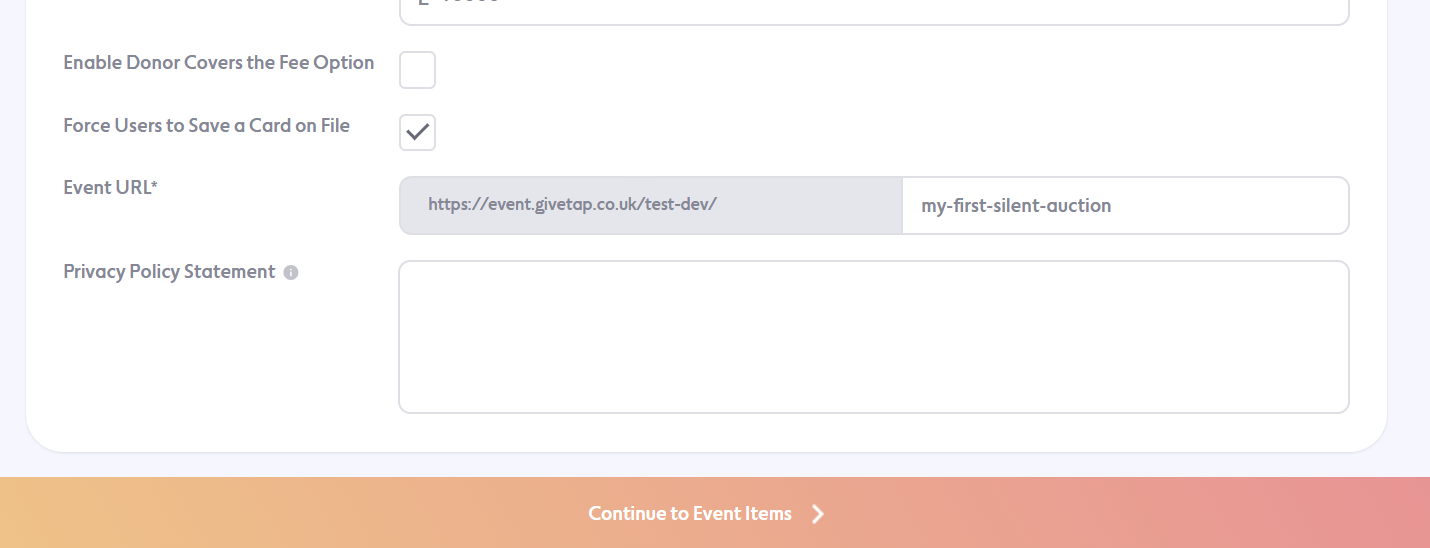
- Enable Donor Covers the Fee Option: this option gives donors the option to round up their donation to cover payment processing and platform fees
- Force Users to Save a Card on File: if selected, this option prevents bidders from placing a bid unless their card details are saved to the account. If this option is not selected, users can bid on items and pay after, either by an automated payment link sent by the system or a cash or card payment in-person.
- Event URL: Customise the URL slug for the event
- Privacy Policy Statement: List your privacy policy statement so that users understand how their data will be used and protected
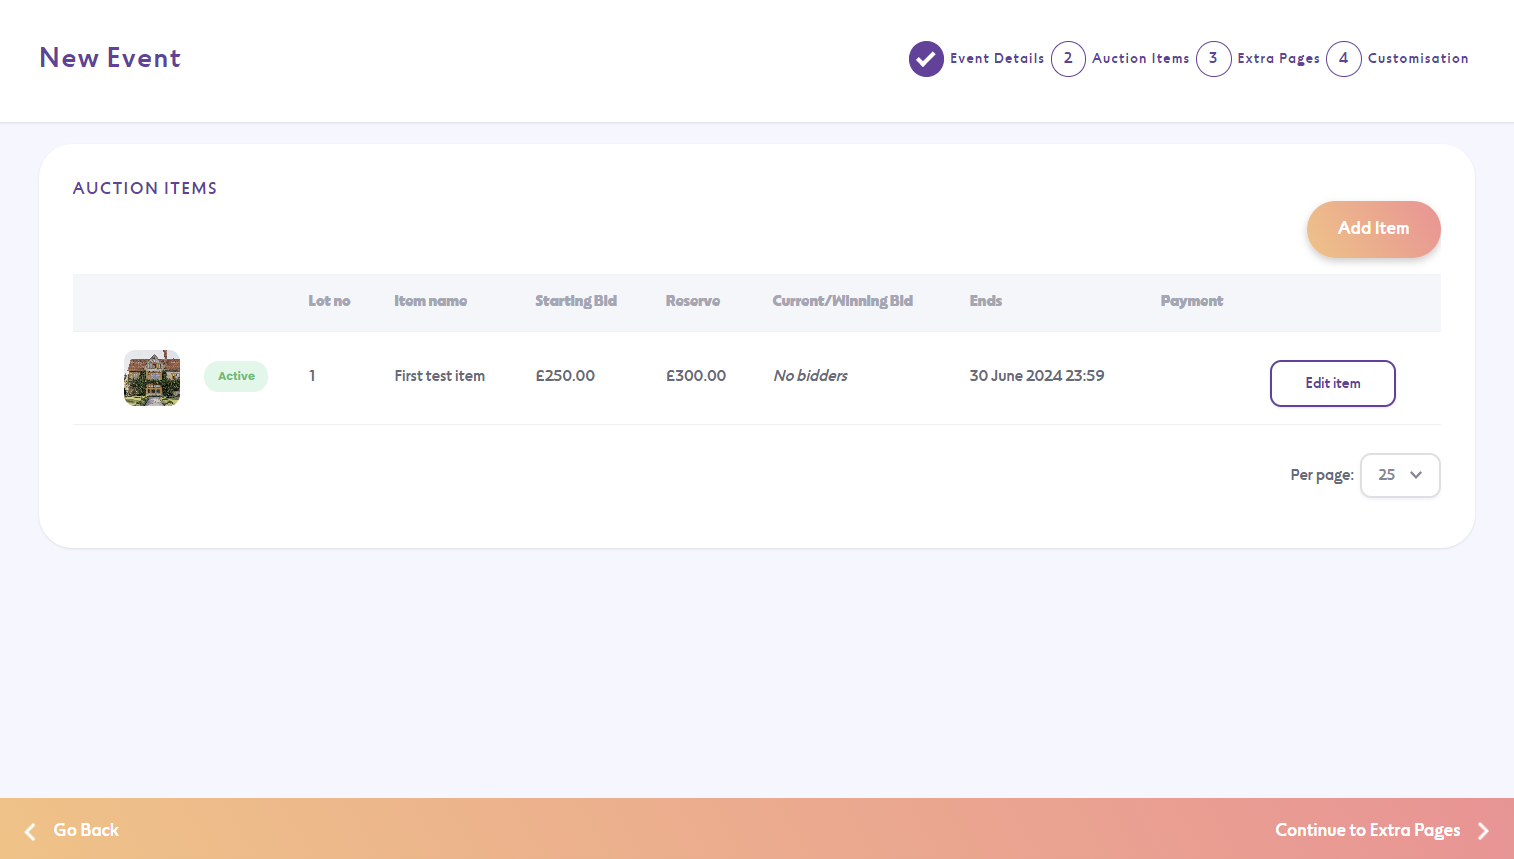
Auction item creation
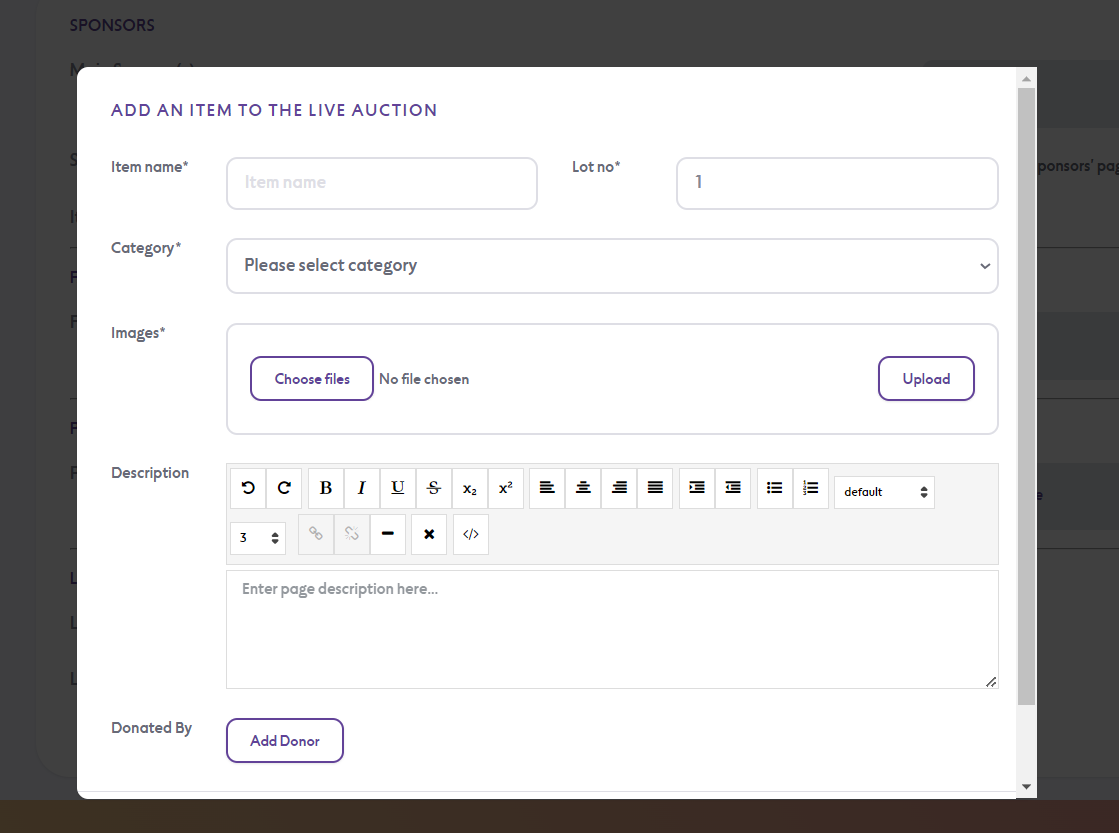
The next step of the campaign creation process involves creating your auction items. It’s possible to skip this step and complete it later or you can do it straight away.
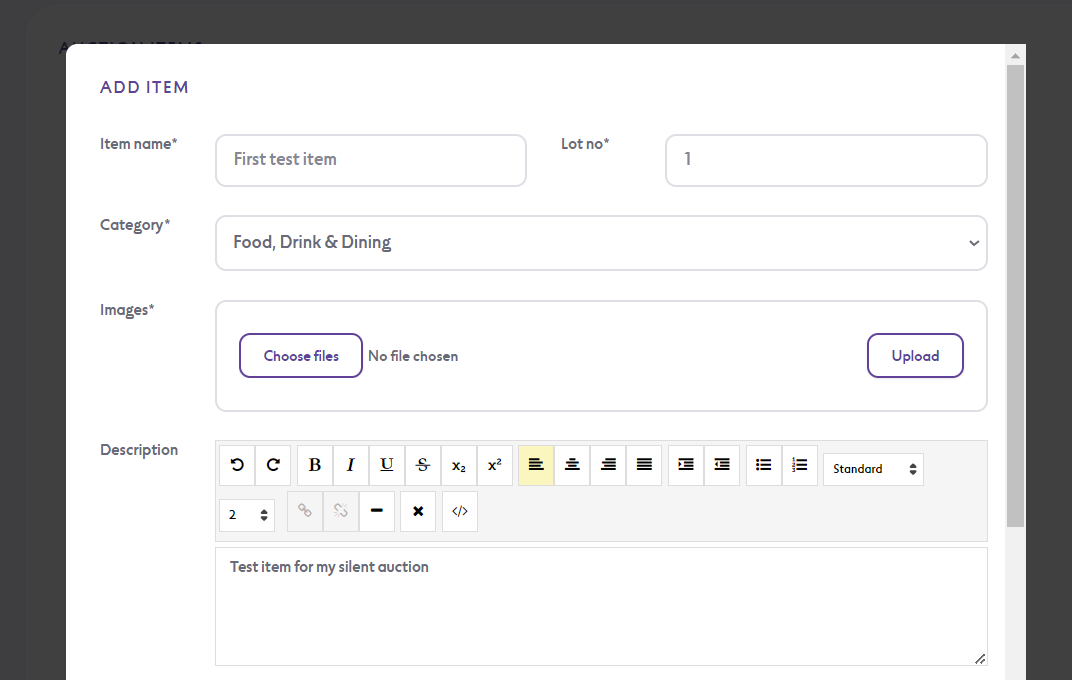
You will need to complete the following fields:
- Item name
- Lot no: This is automatically generated but can be modified
- Category: Select a category that the item falls into. This grouping is applied on the filters used by bidders to find items
- Images: any images you wish to show of the item
- Description: a text description of the item
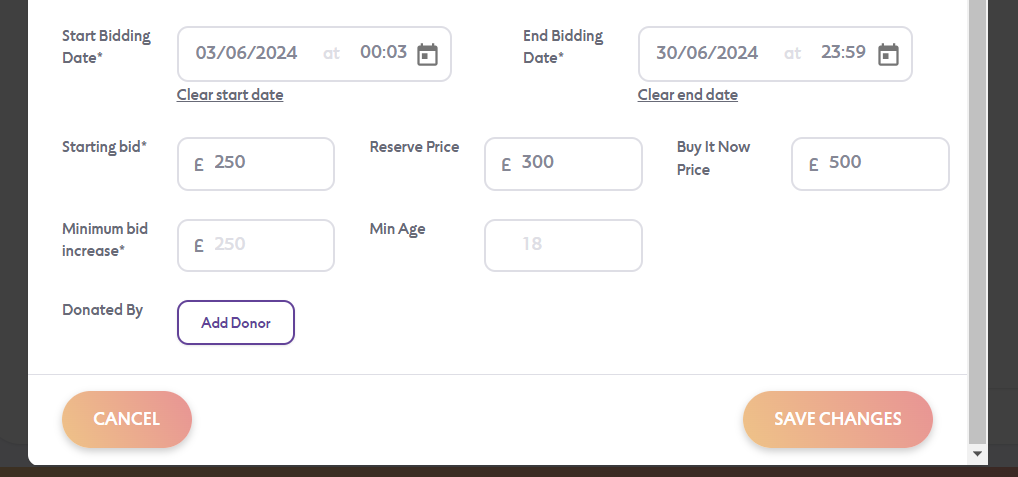
- Start bidding date: the date and time at which bidding will start
- End bidding date: the date and time at which bidding will end
- Starting bid: the starting bid amount
- Minimum bid increase: the minimum amount by which the bidder should increase their bid over the existing bid
Other optional fields include:
- Reserve price: if the bids do not meet the reserve price then the item will not be won
- Buy It Now price: if you set a Buy It Now (BIN), users will be able to end the bidding process and buy the item straight away at a set price
- Min age: prevent users from placing bids if they’re under a certain age
- Donated by: display the donor’s name, URL, logo and description on the item listing page
Once you have created the items you wish to, click ‘Continue to Extra Pages’.
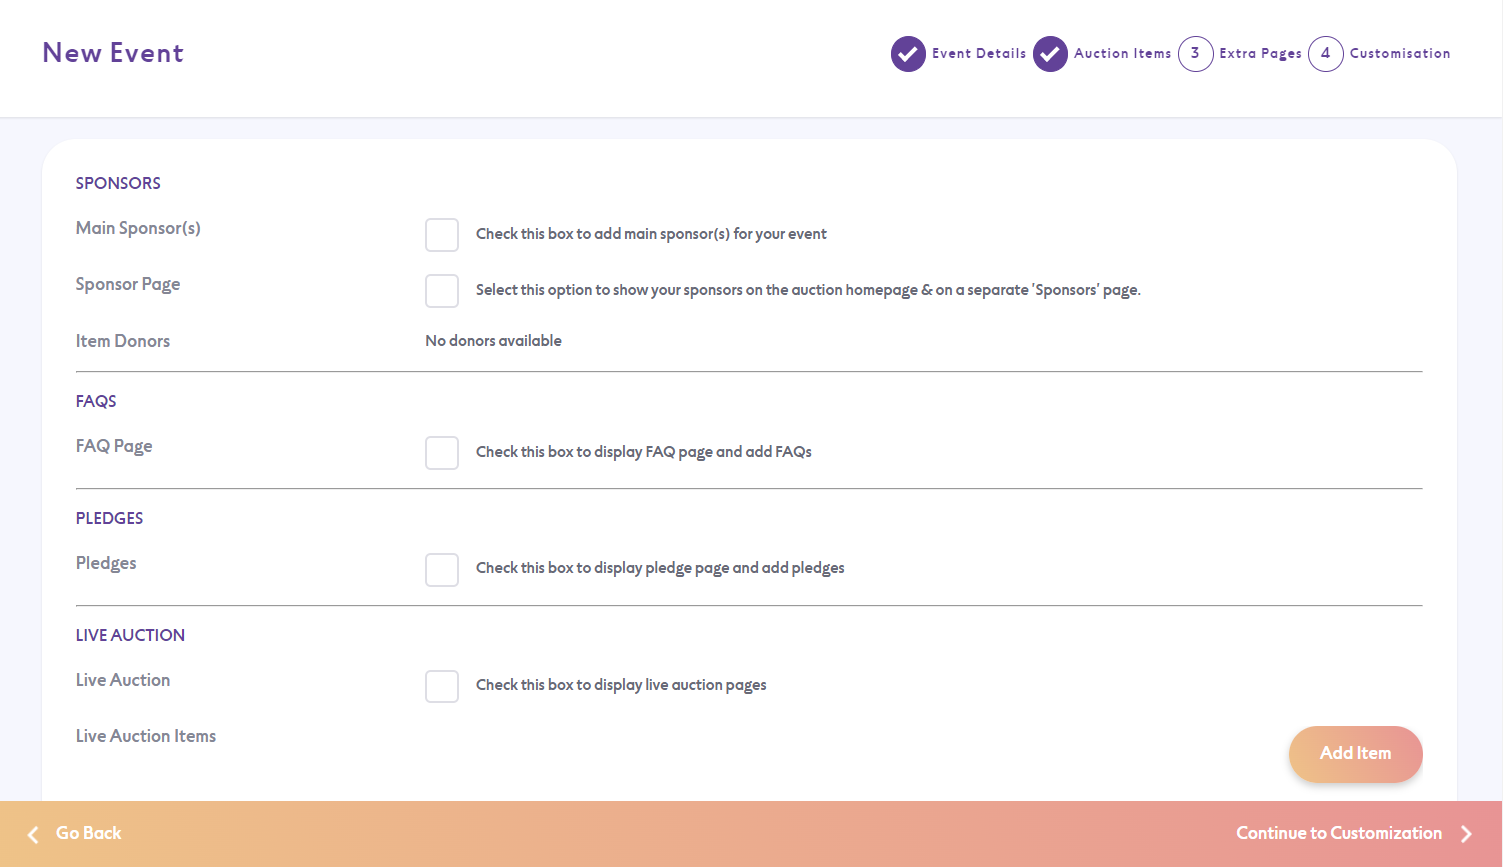
Extra page creation step
This step allows you to add extra pages to the navigation menu on your event microsite. You can create the following page types:
- Sponsors page: here you can list any of your event sponsors
- FAQs page: here you can create a list of FAQs for your event
- Pledge page: here you can create a number of pledge amounts with corresponding names and descriptions to allow attendees to make donations
- Live auction page: if you’re planning to run a live auction alongside your silent auction you can list all of your items here. Note: this is just a listing page and guests cannot bid through this page.
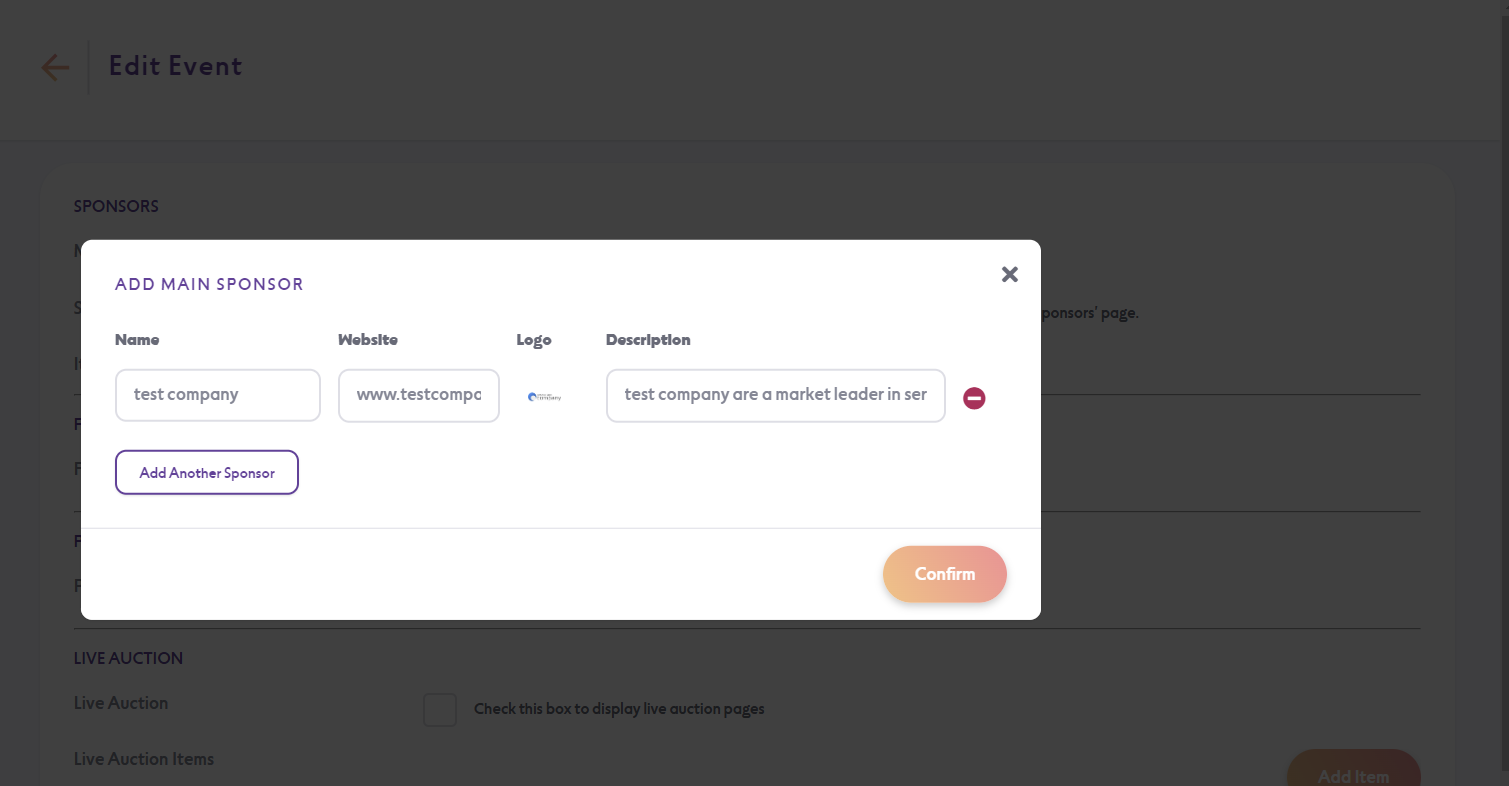
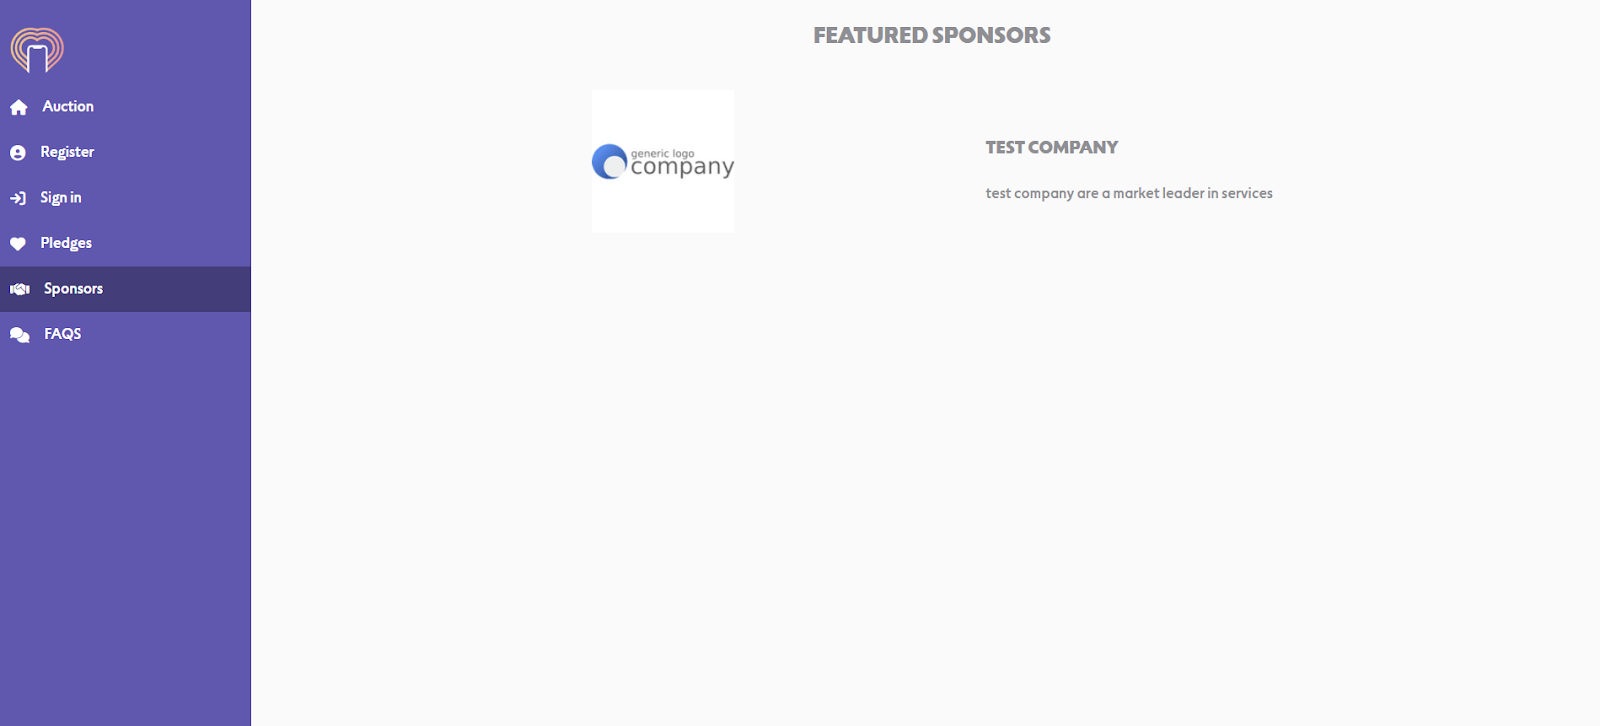
Sponsor page creation
When adding a sponsor to your page you will be asked to enter the name, web URL, and description of the sponsor. Once populated, click confirm to close the window.
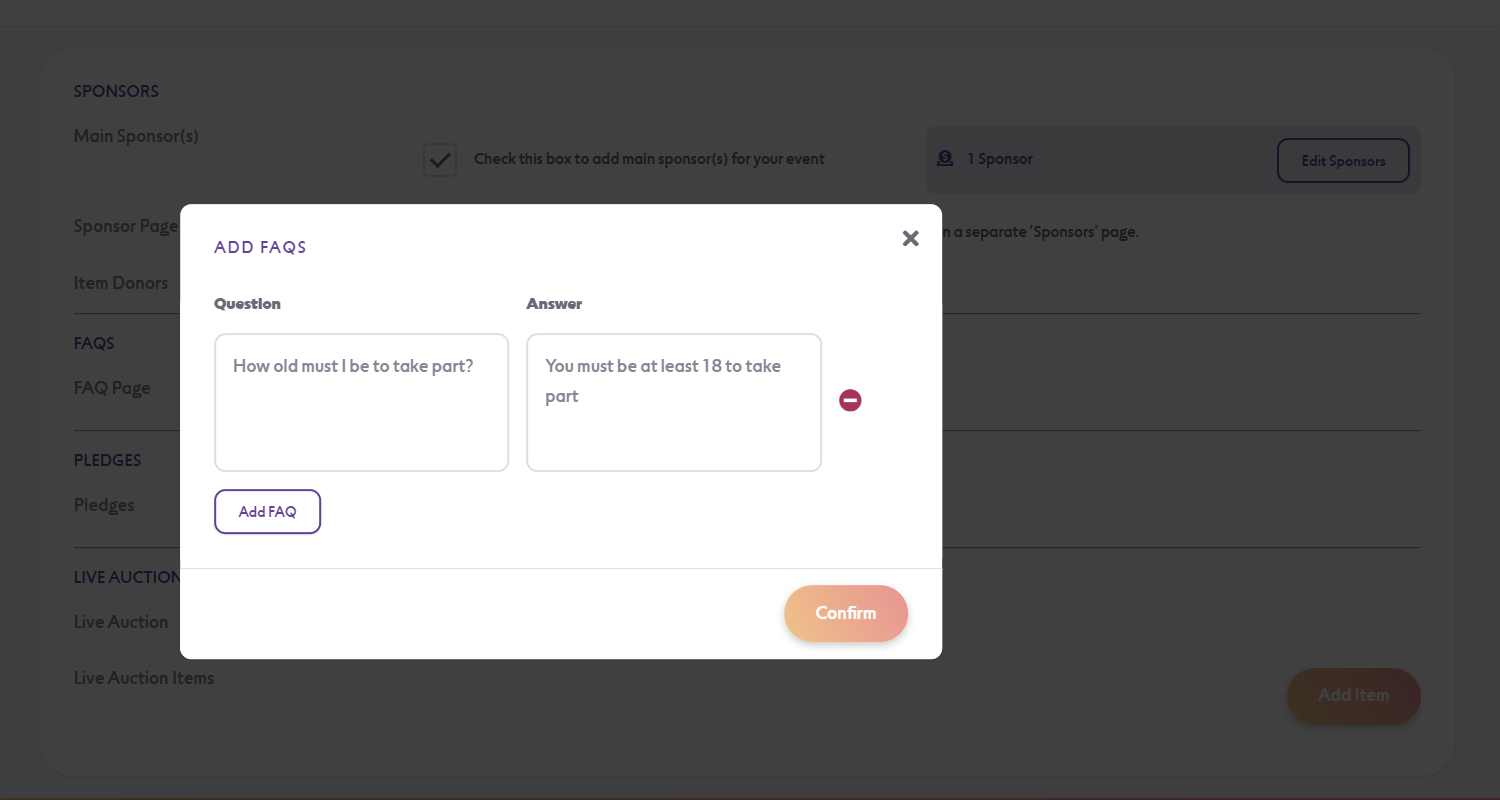
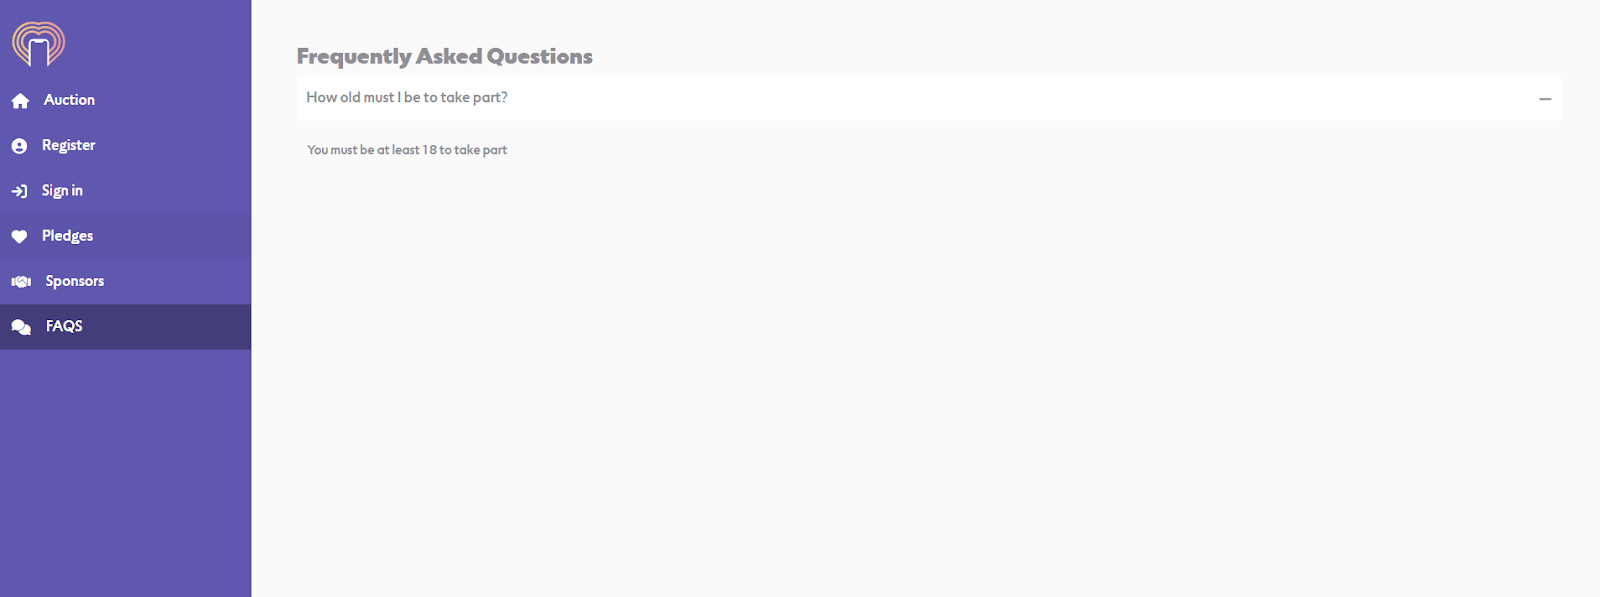
FAQ page creation
If you wish to display an FAQ page on your event page you can do so by adding questions and answers on the ‘Add FAQs’ modal. Once complete, click ‘Confirm’ to save your FAQs.
Pledge page creation
If you would like to accept donations on your event page you can add them here. You will need to enter a pledge name (title), amount, image and description before clicking ‘Confirm’.

Live auction page creation
If you’re running a live auction alongside your silent auction you can create a listing page for all of your live auction items. Your guests cannot place bids through this page but they can interact with the page to find items they might live to bid on in your live auction.
Customising the event styles
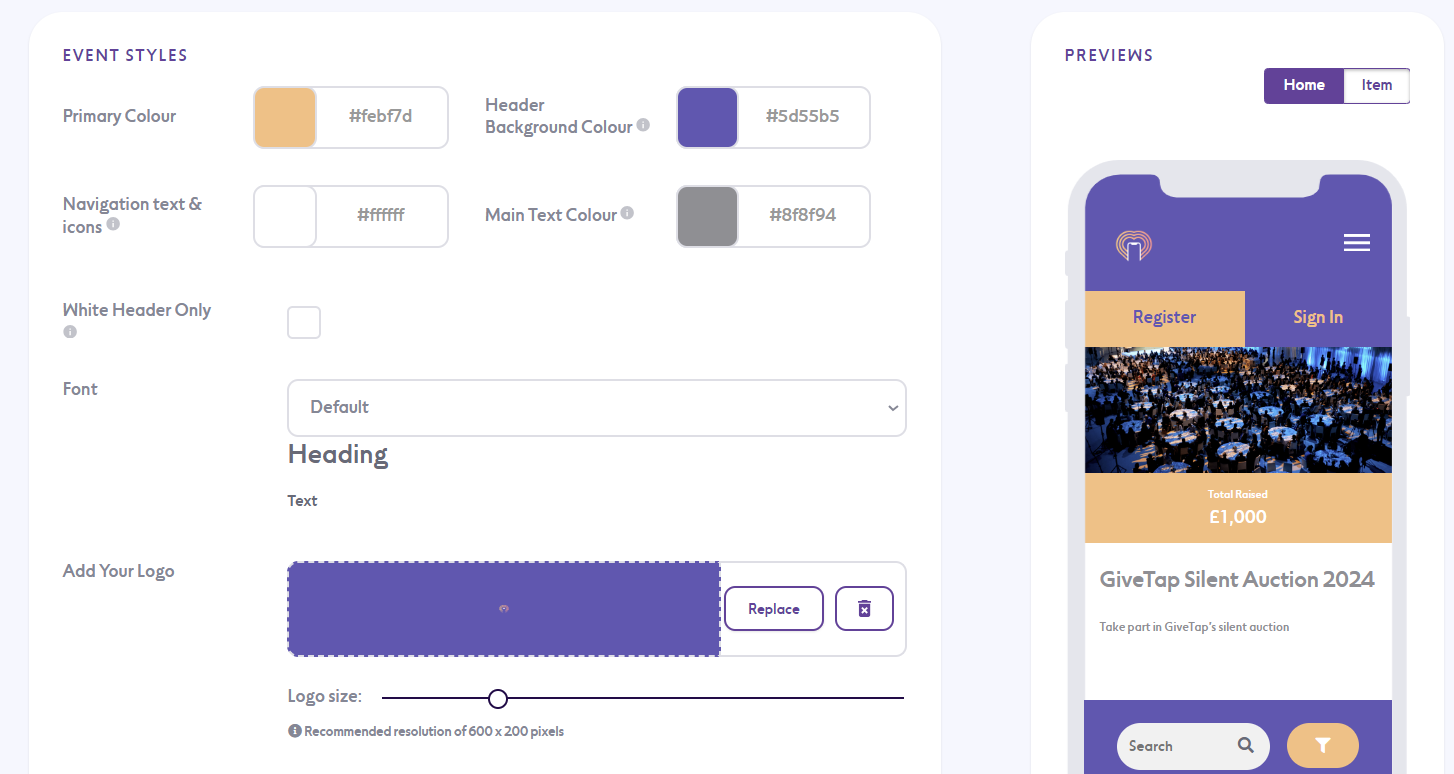
In this section you can customise the look and feel of the event site to match your organisation’s branding. Below are the customisation options:
- Primary colour: this colour is used for primary call to action buttons, call out sections and for the text on secondary call to action buttons
- Header background colour: this colour is used on the header bar, navigation menu and filter slide out
- Main text colour: this colour is used for the text that appears throughout the event site in the content areas
- Navigation text & icons: this colour controls the text that appears on call out sections along with icons and the hamburger menu
- White header only: by selecting this tickbox the header bar and navigation menu will be white
- Font: here you can choose from a pre-set list of web-safe fonts from Google Fonts
- Logo: Upload your logo and it will appear on every page of the event site
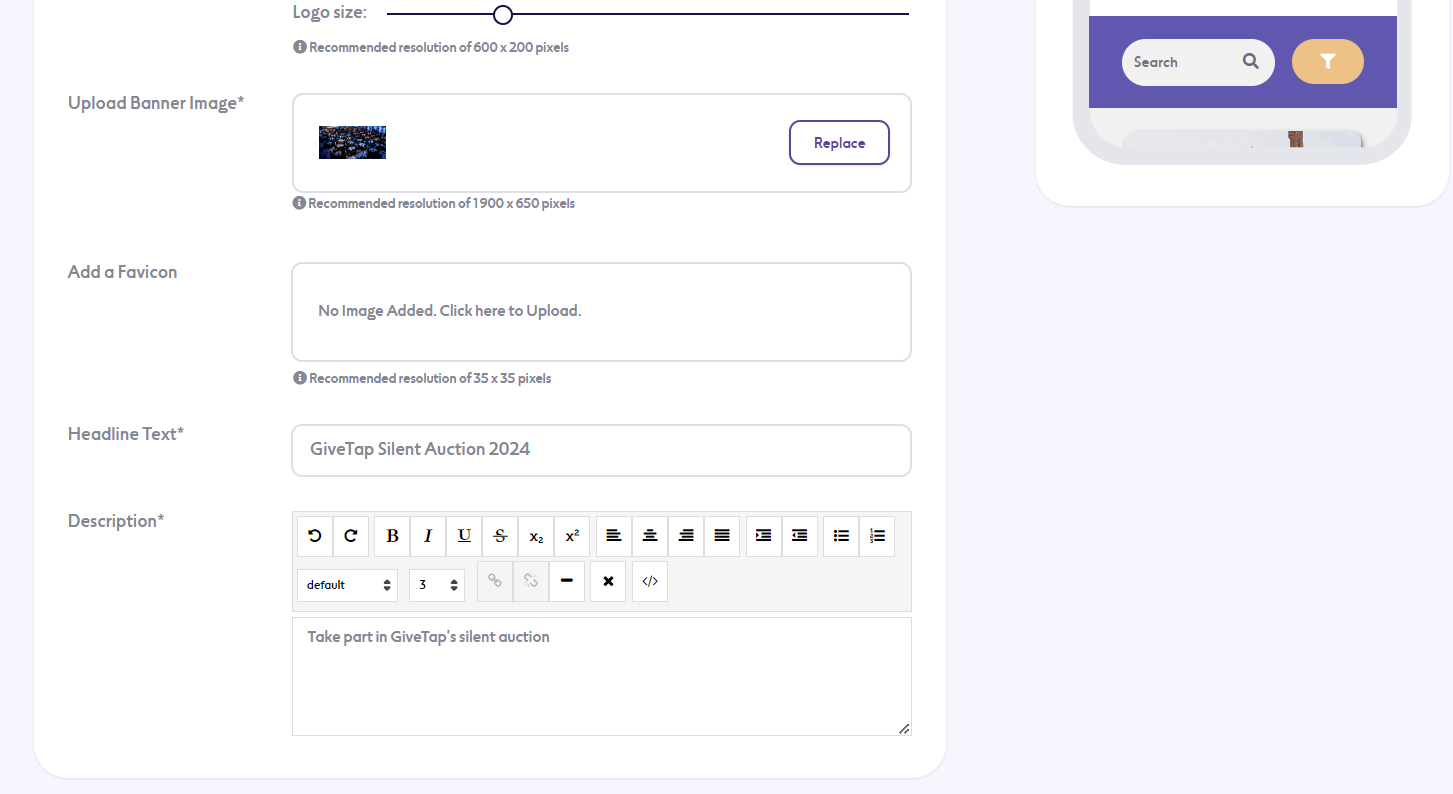
- Banner image: this image appears at the top of the main page of the event site
- Favicon: favicons appear in the tab of the user’s browser
- Headline text: add impactful text to describe your event
- Description: add a description to your event
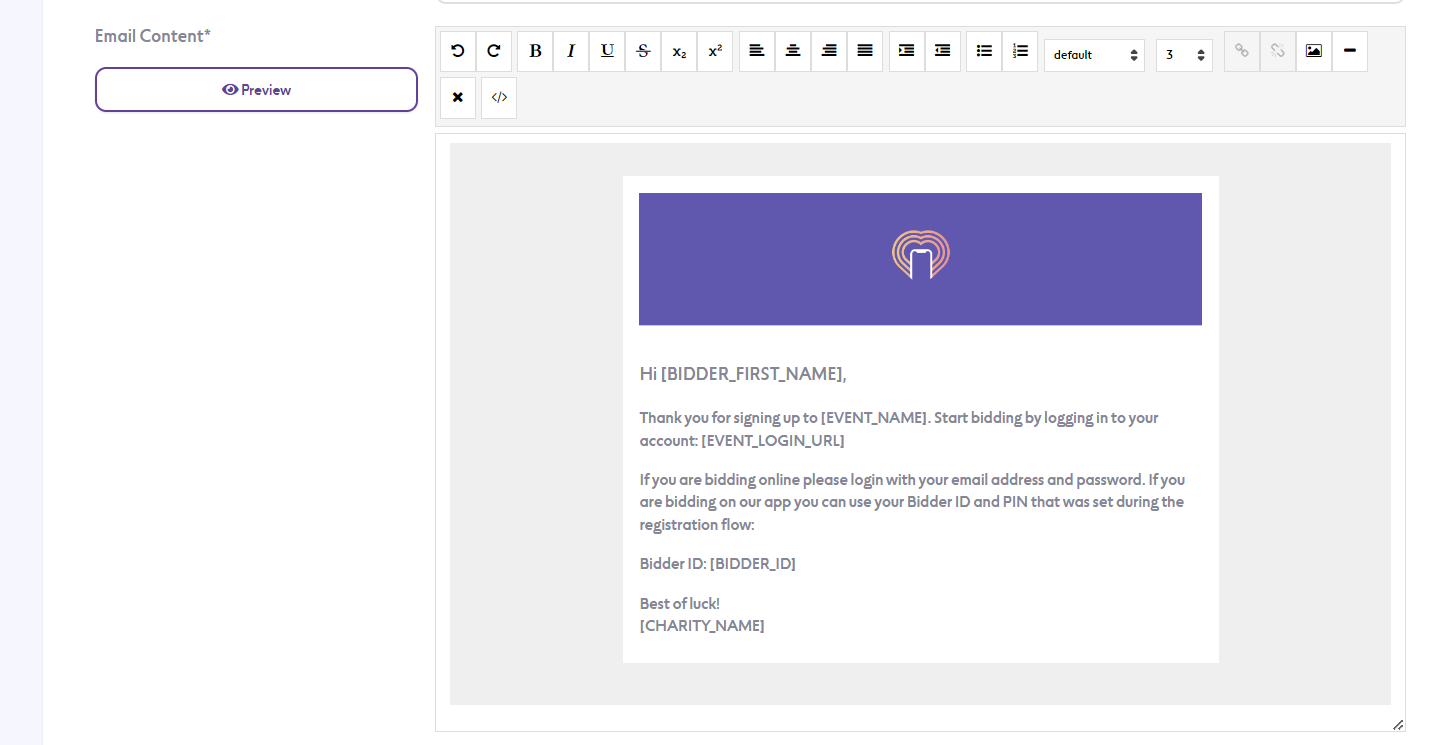
Customising email and SMS communications
This tool allows you to customise the outbound emails from the system. Click on a tab to reveal the current email content and select a tag to paste from the ‘Tags’ dropdown. If you need to preview the email and tag content you can click the ‘Preview’ button. If you accidentally delete part of a tag, the editor will highlight the mistake so that you can correct it. If you fail to correct it the tag will not work.

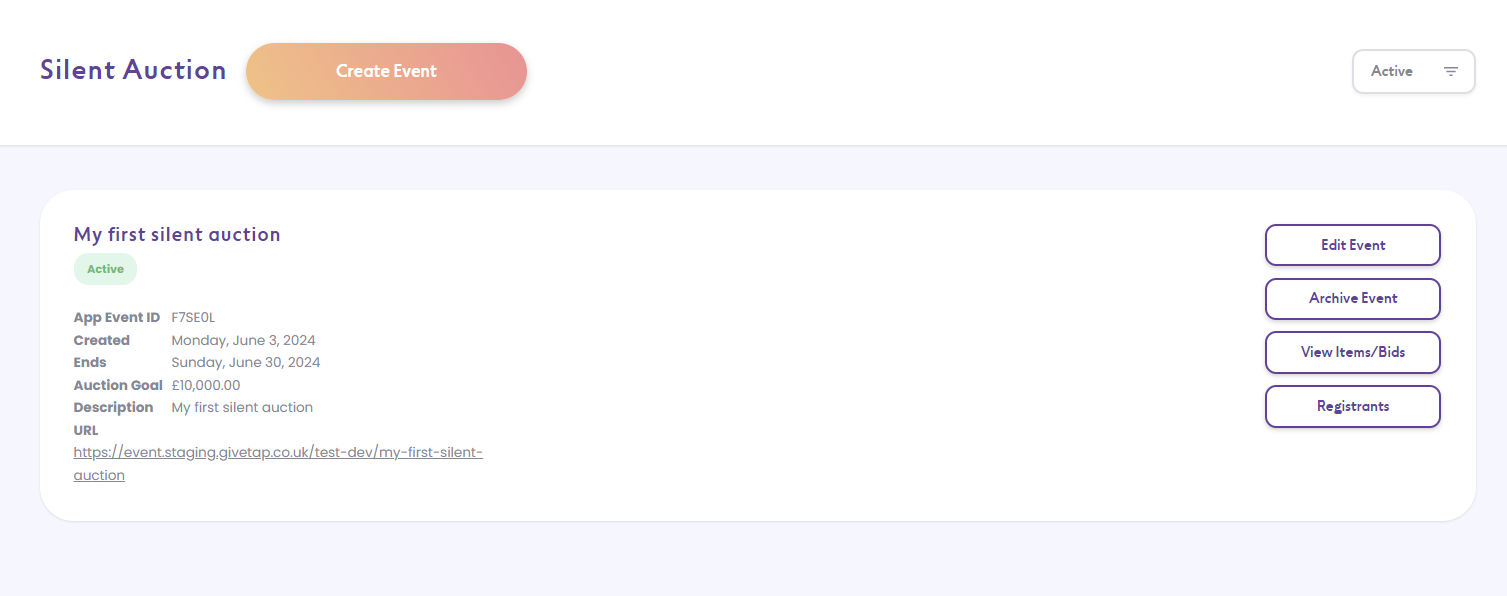
Event list view
The event list displays all of your existing events and can be used to create new events, navigate into each event to edit them or to process bids.
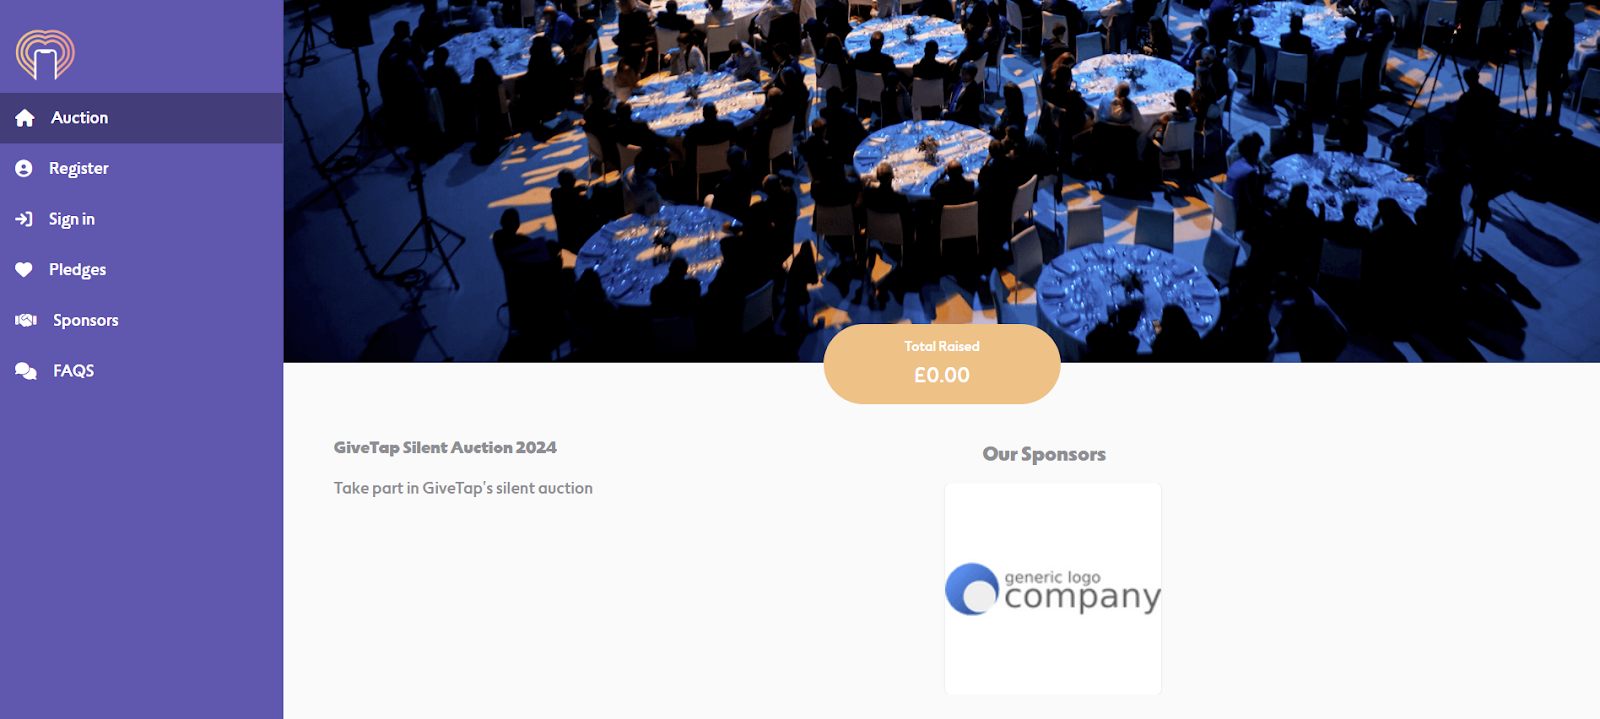
Tour of the event site
The main page of the event site defaults to the silent auction listing. This is the primary page that guests will interact with and displays all of the items in your silent auction. The event site is optimised for both mobile and desktop use and allows guests to easily sort and filter items to find what they’re looking for.
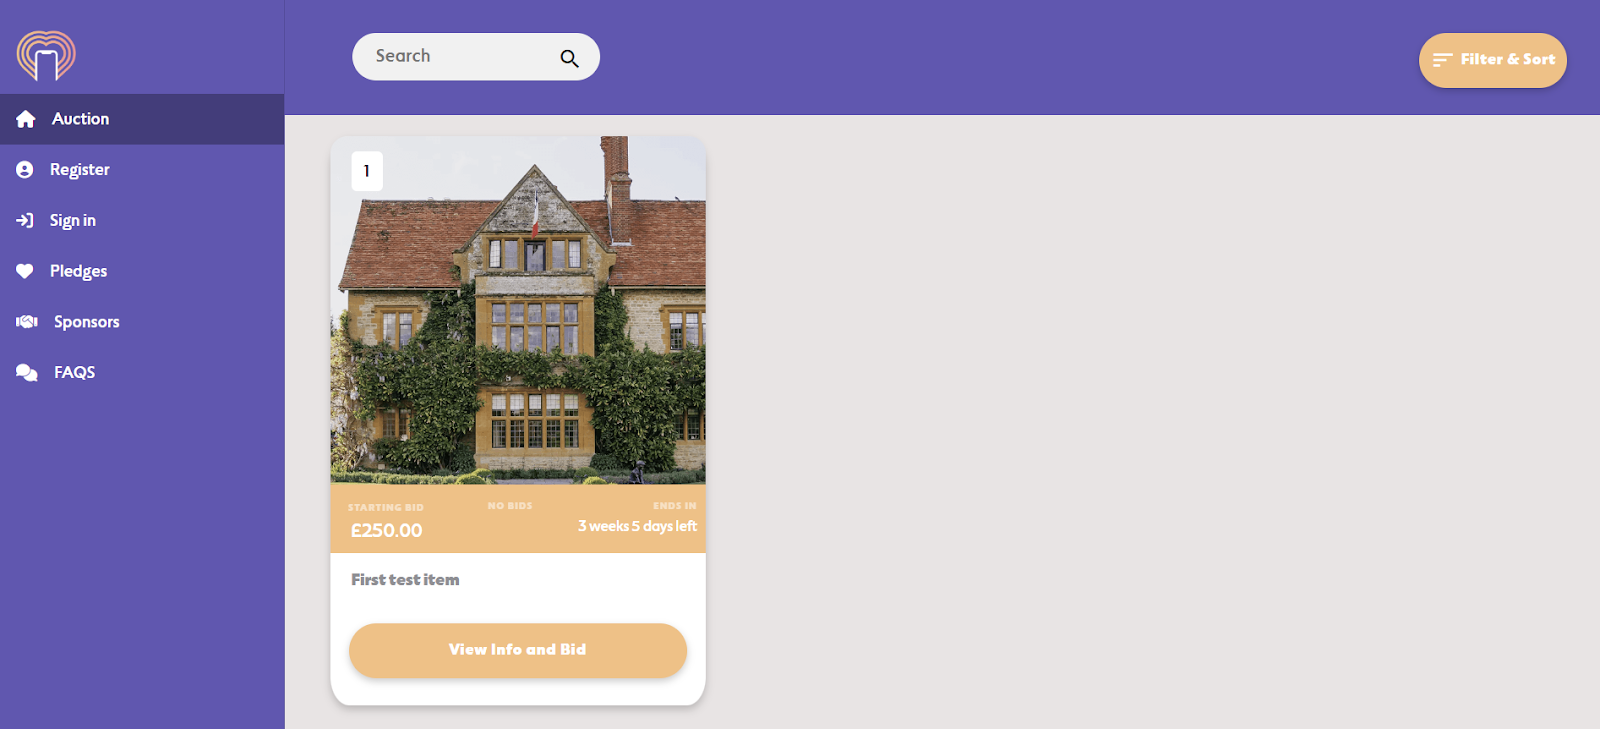
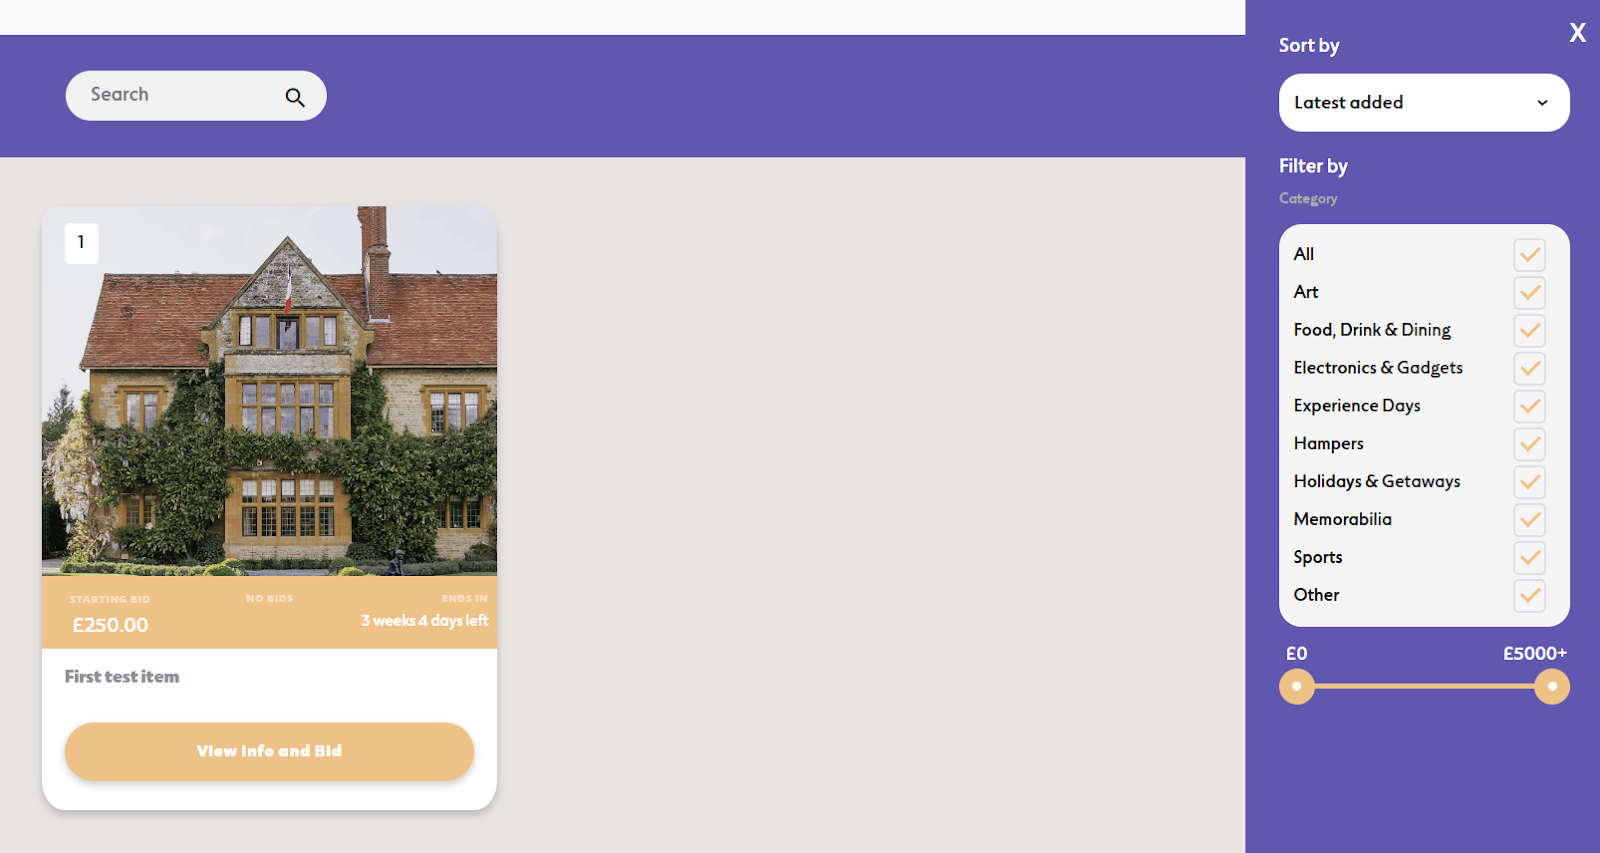
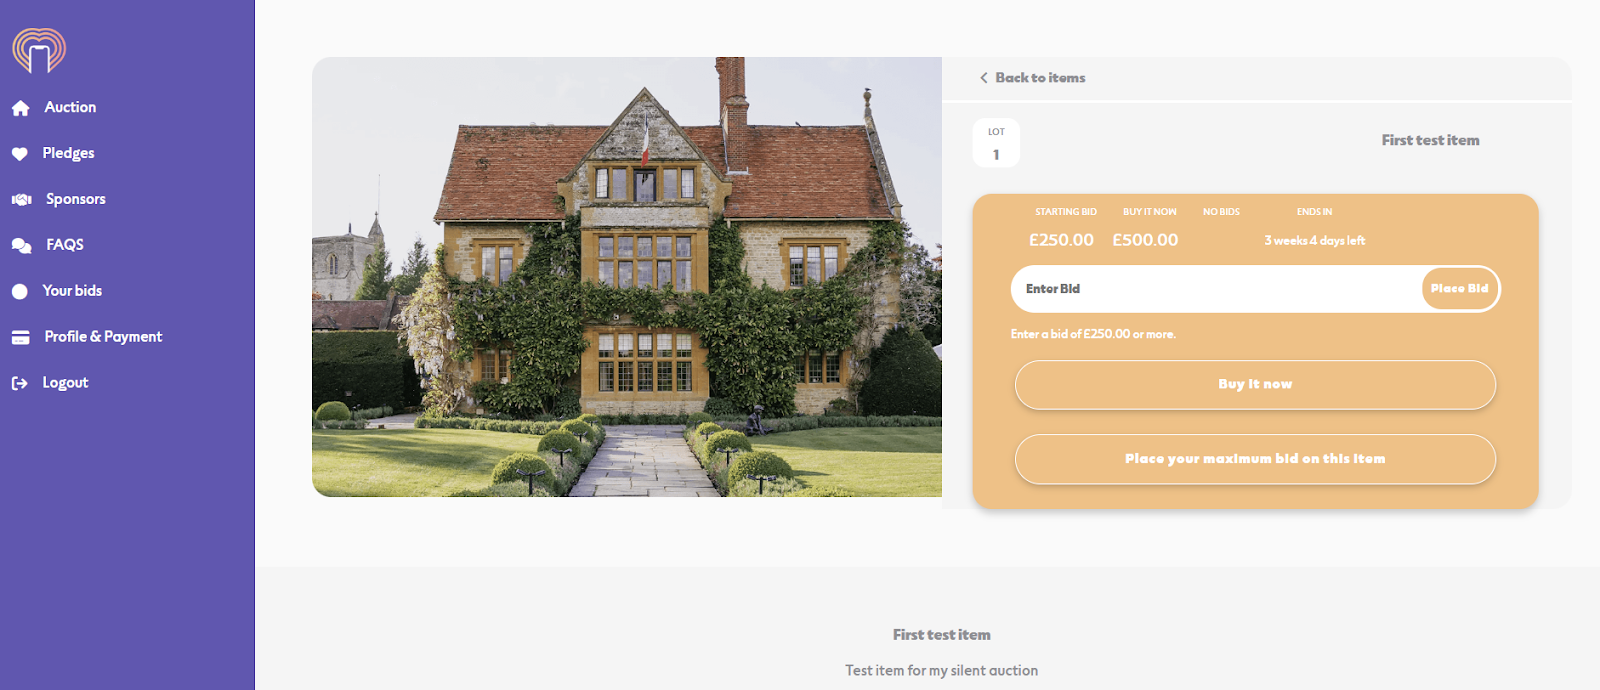
The item listing page includes the item’s name, lot number, starting bid amount, Buy It Now price (if enabled), end date along with instructions on how to bid.

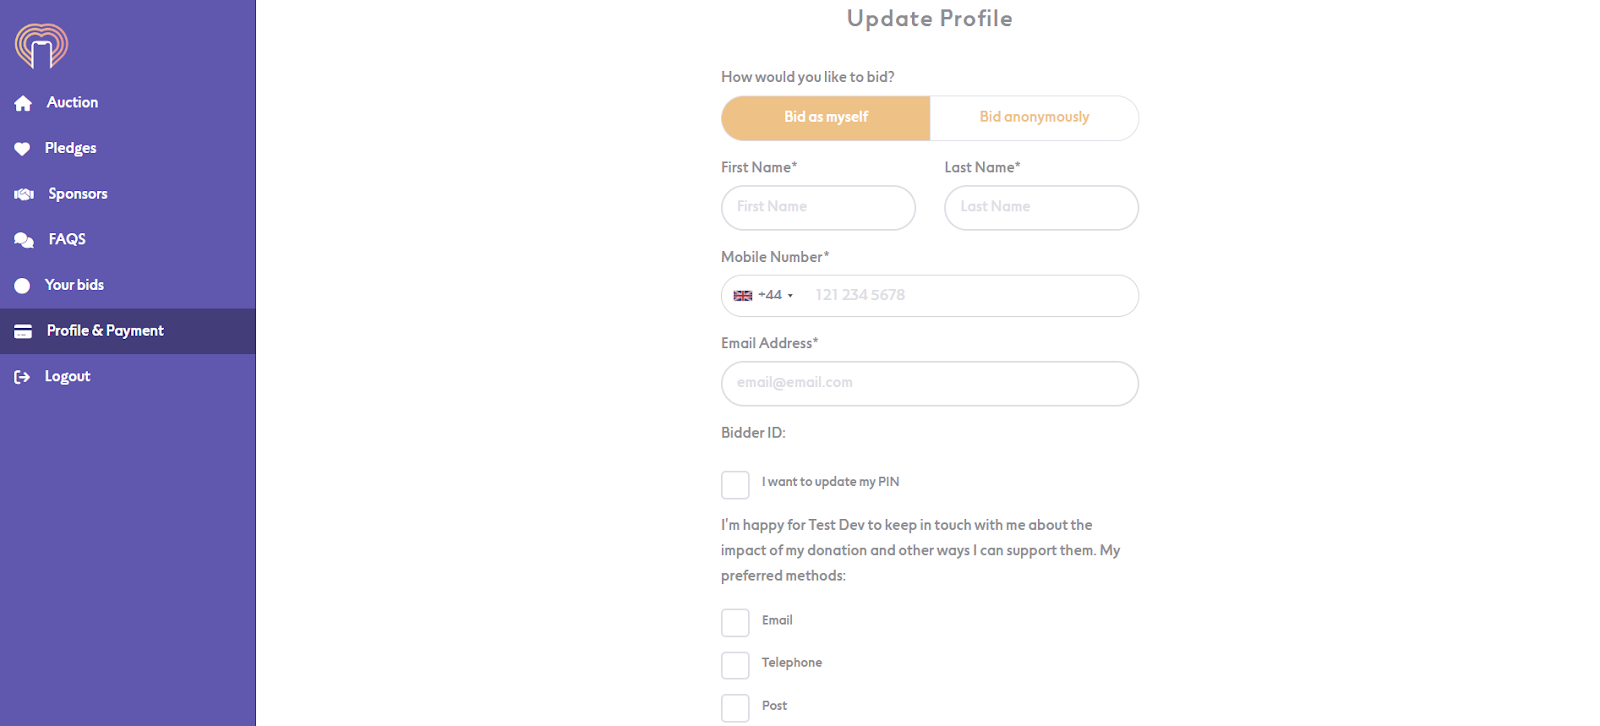
Registering for an account
Users have two main options when bidding: ‘Bid as myself’ or ‘Bid anonymously’. If they opt to bid anonymously then their name will be hidden across the event site.
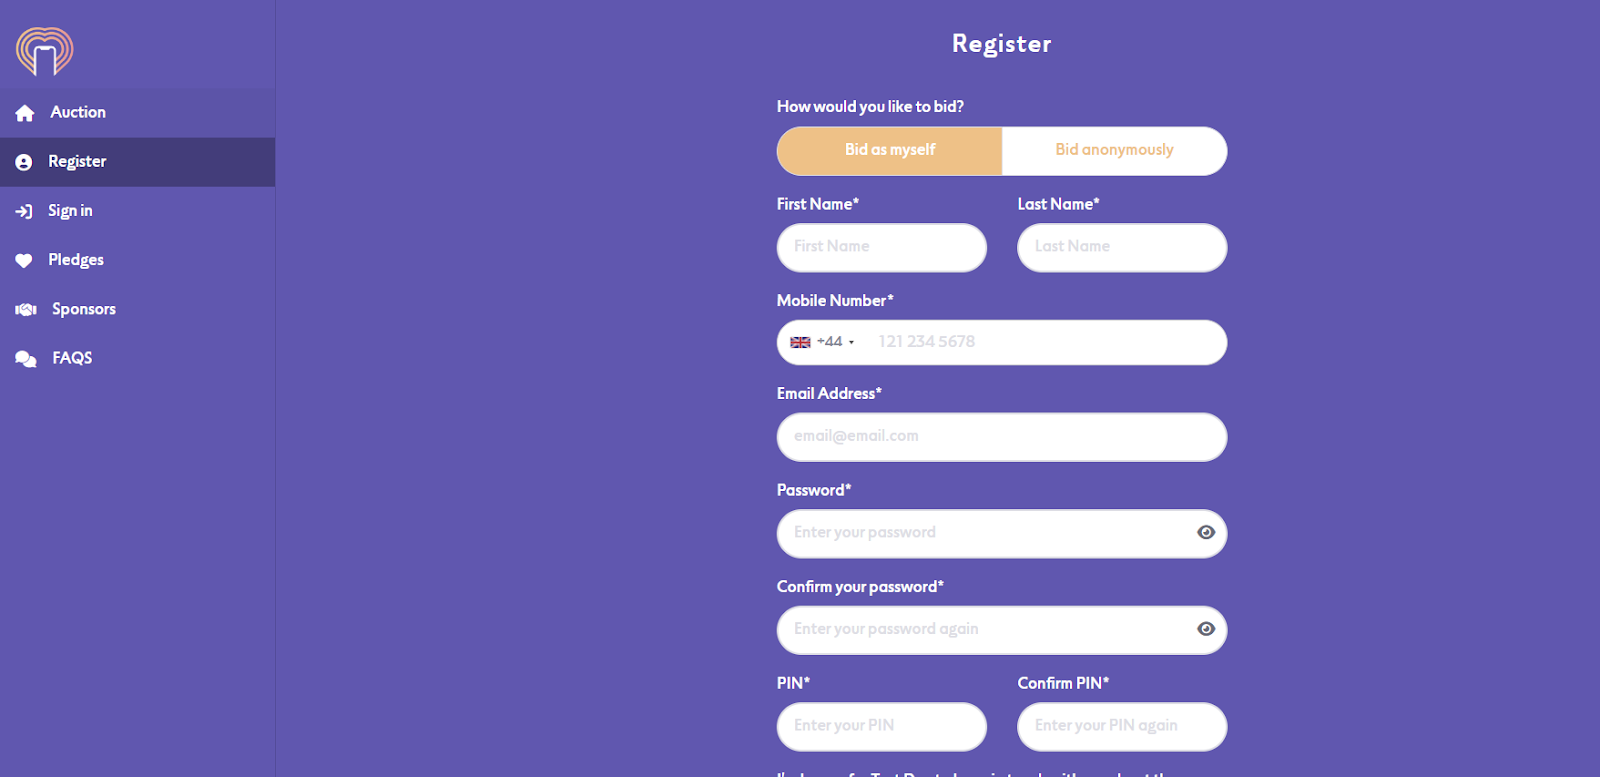
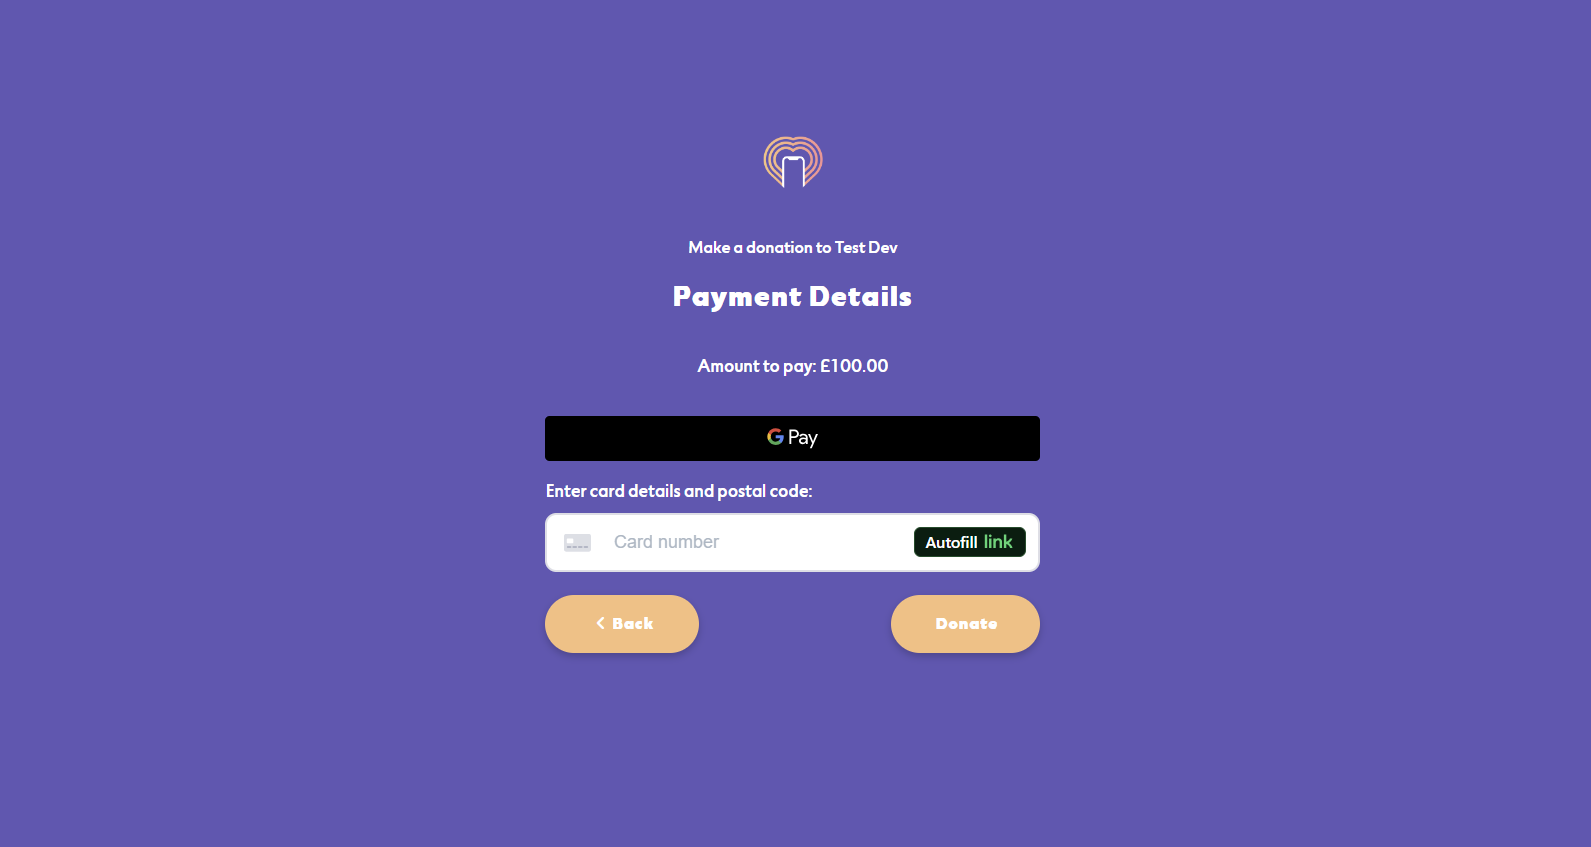
Upon completing registration, users will be asked to add a payment method. They can enter their credit or debit card details here and the system will automatically bill the card should they place a winning bid on an item. Depending on what is set within the event setup, users may be forced to enter a card on file in order to bid, or pay after the event via online payment link or in-person payment.
Users can update their personal details at any time from the ‘Profile & Payment’ page inside their account.
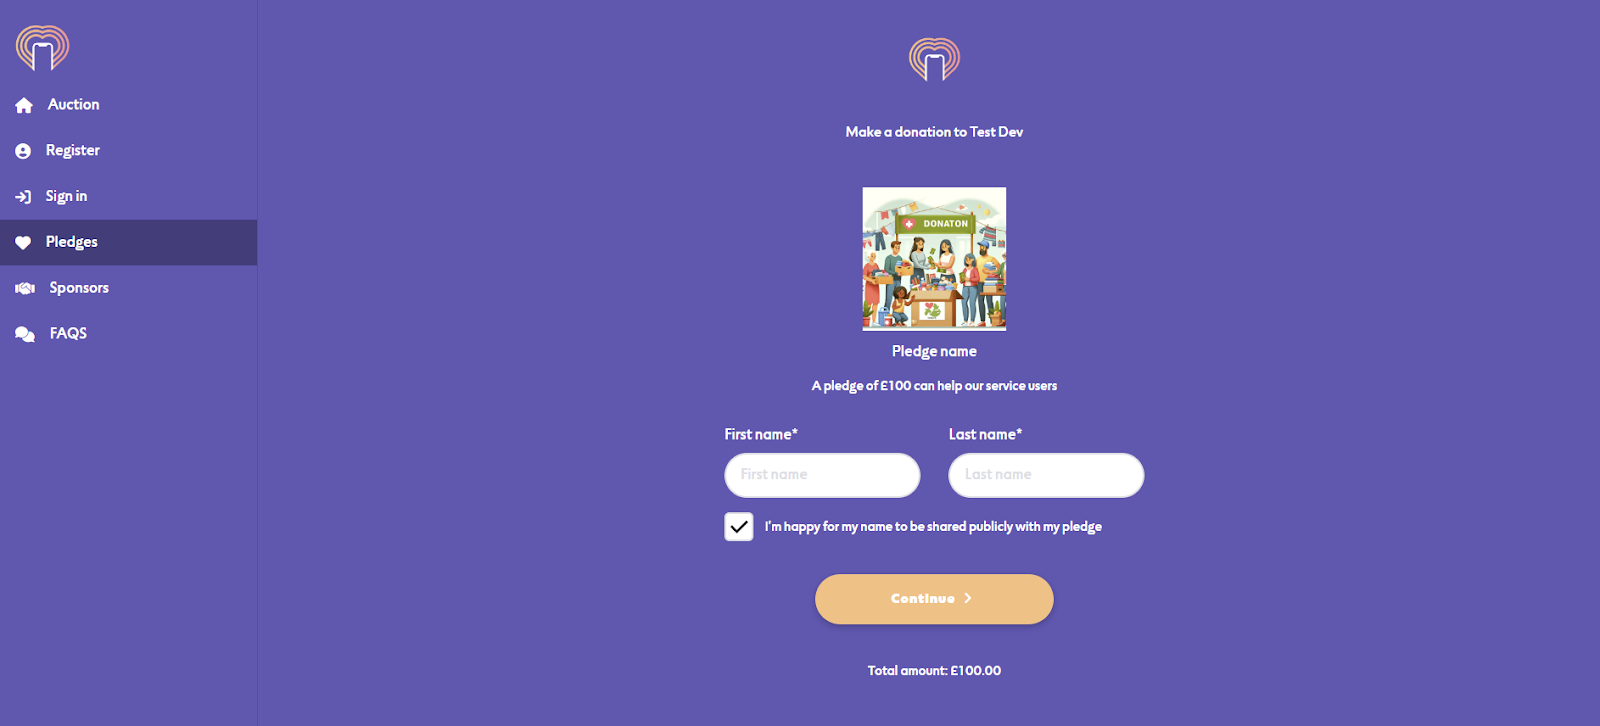
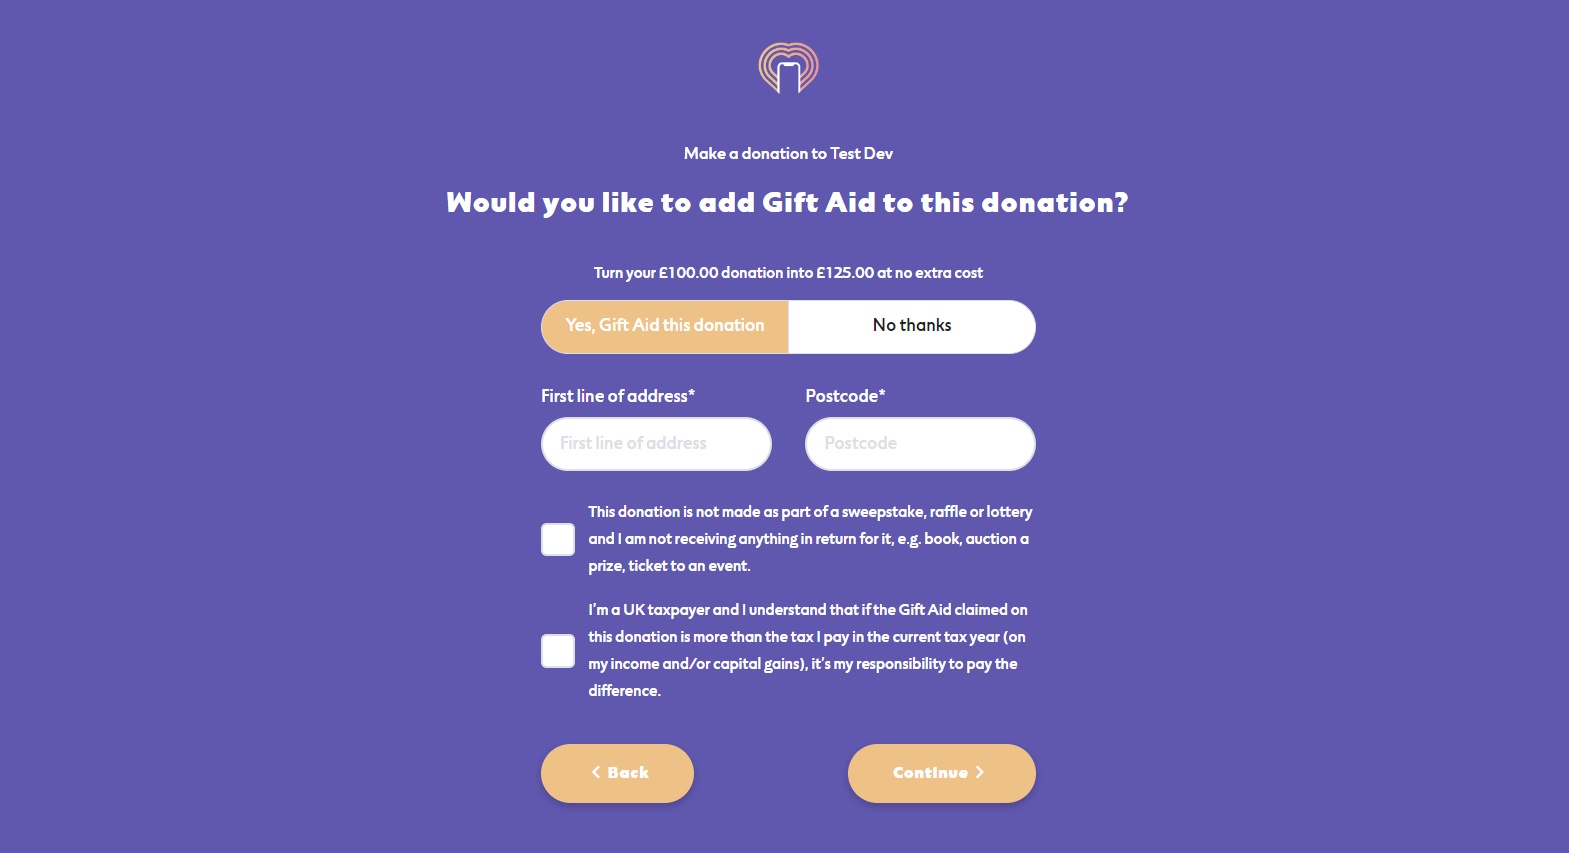
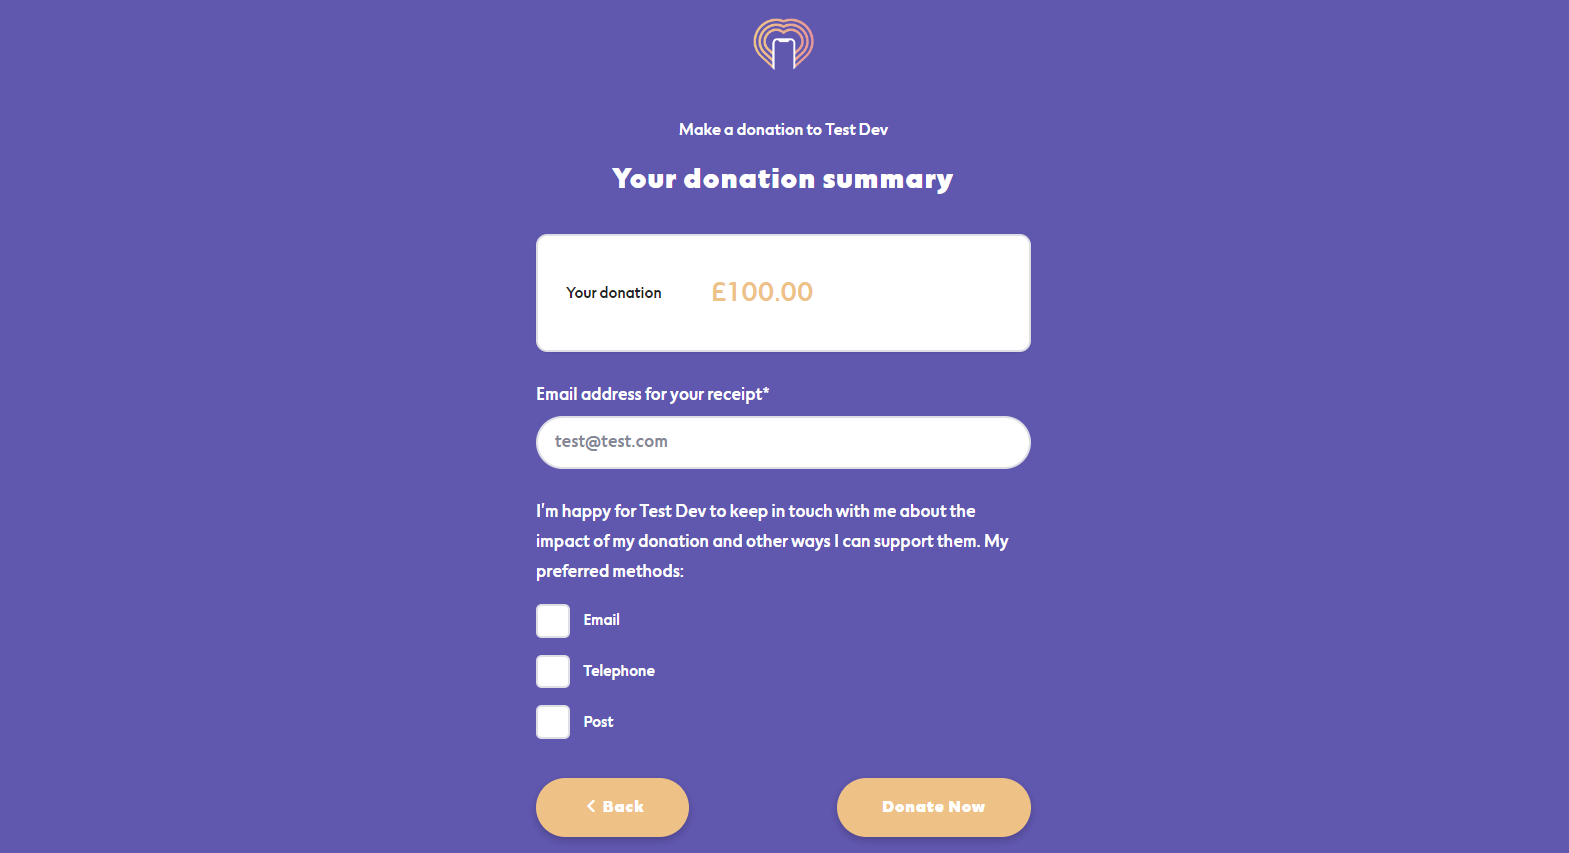
Making a pledge
Guests can make pledges to your charity by visiting the ‘Pledges’ page and choosing a pledge. Each pledge will have a specific amount configured and selecting the pledge will pass that donation amount forward into the donation journey.


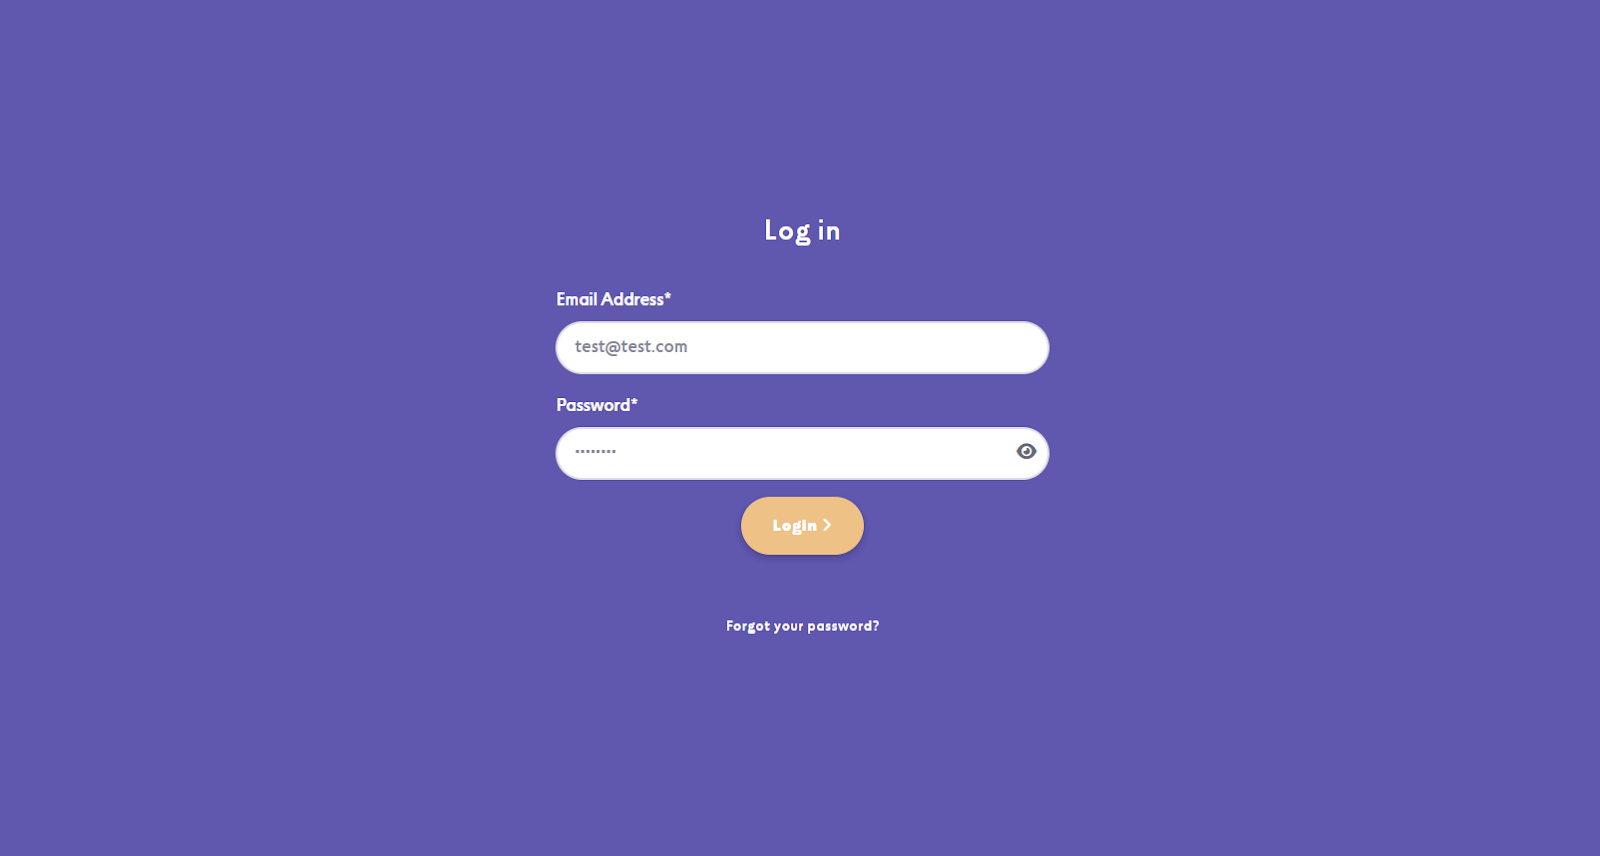
Login to bidder account
Placing a bid
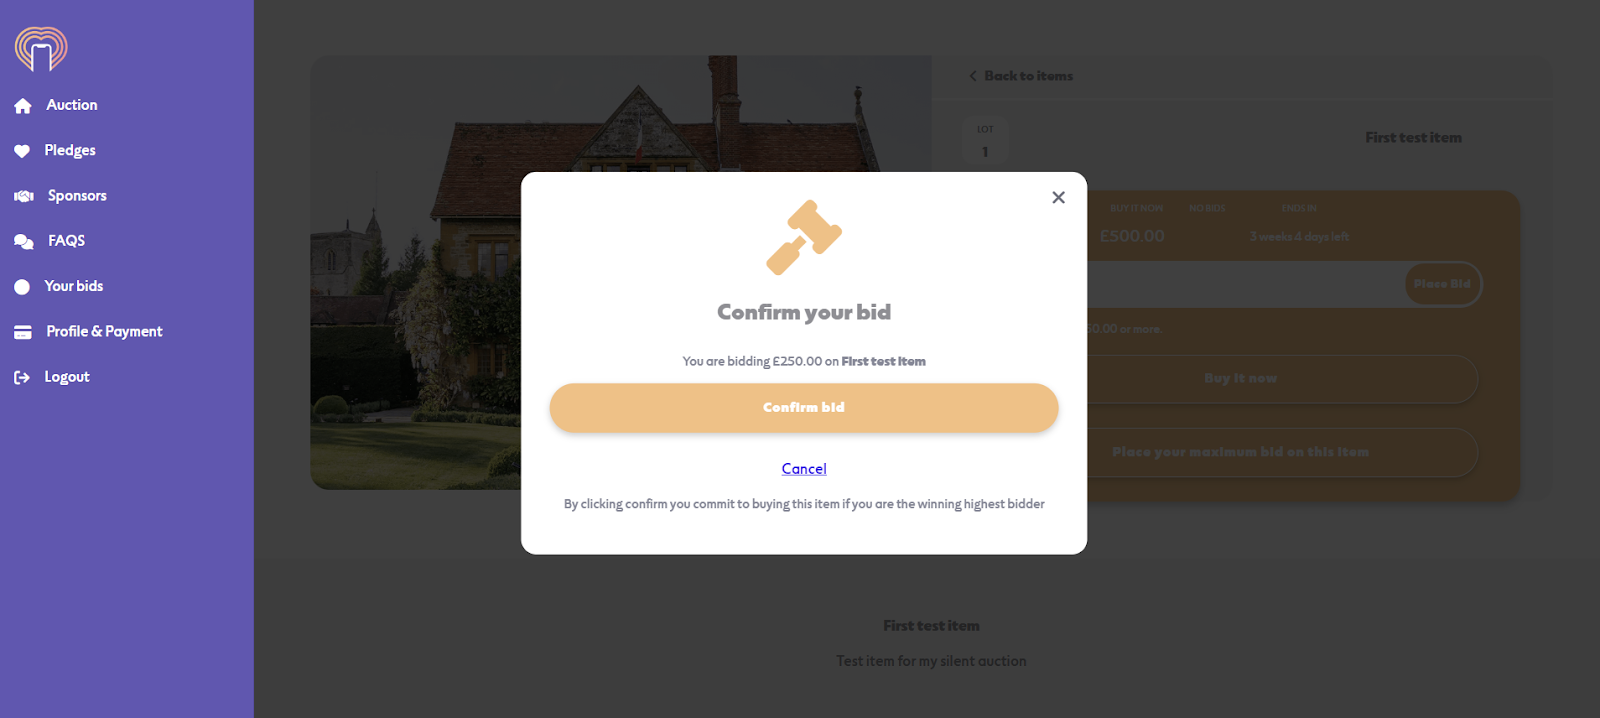
Guests can see the full details of the item on the listing page. Once they’re ready to make a bid they can enter the bid amount into the bid entry box and click ‘Place Bid’. They will then be asked to confirm their bid before receiving an email and SMS confirmation of the bid placement. Should they be outbid they will receive a follow up email and SMS notifying them. They can also visit the ‘Your bids’ page below within their account.

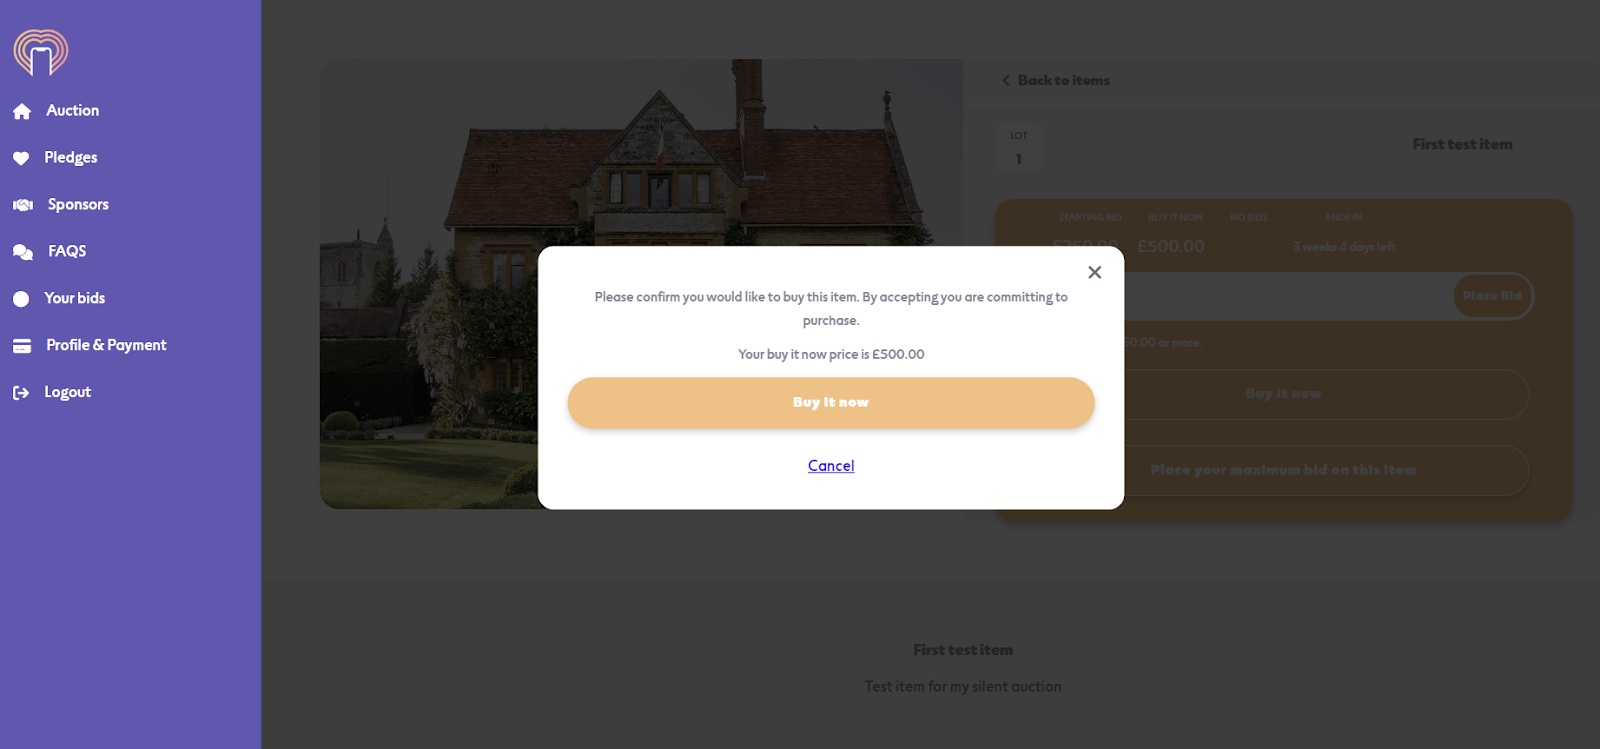
Buy It Now (BIN)
The Buy It Now feature allows guests to skip the bidding process and secure the item straight away. A confirmation pop-up is triggered after a user clicks ‘Buy It Now’ to ensure they understand that their card will be billed.
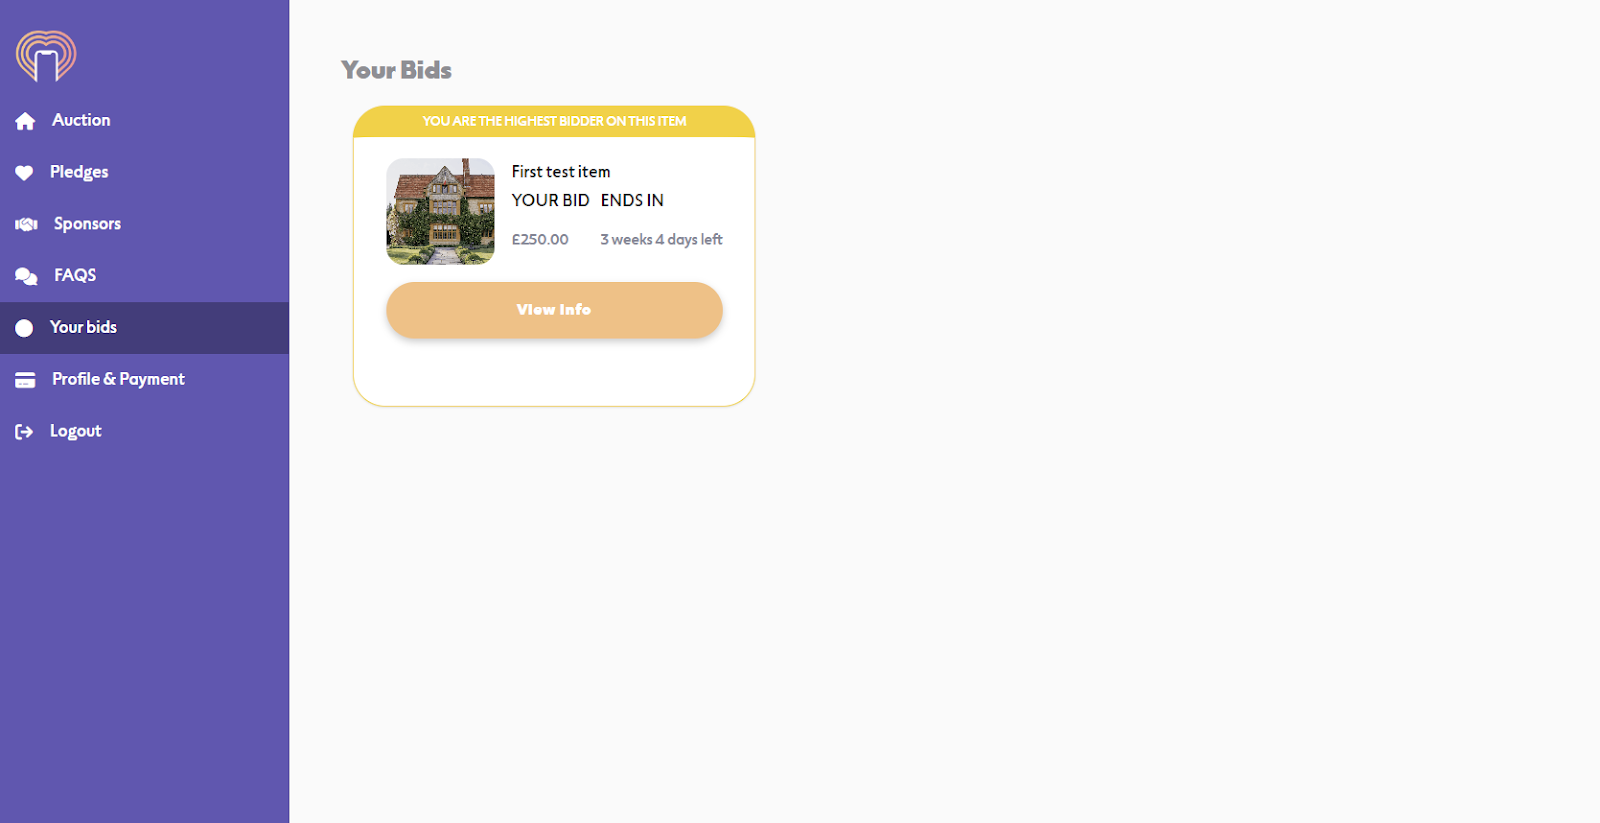
‘Your Bids’ page
This page lists all items that a bidder has bid on, including the bid they have placed and the status of their bid and time remaining.
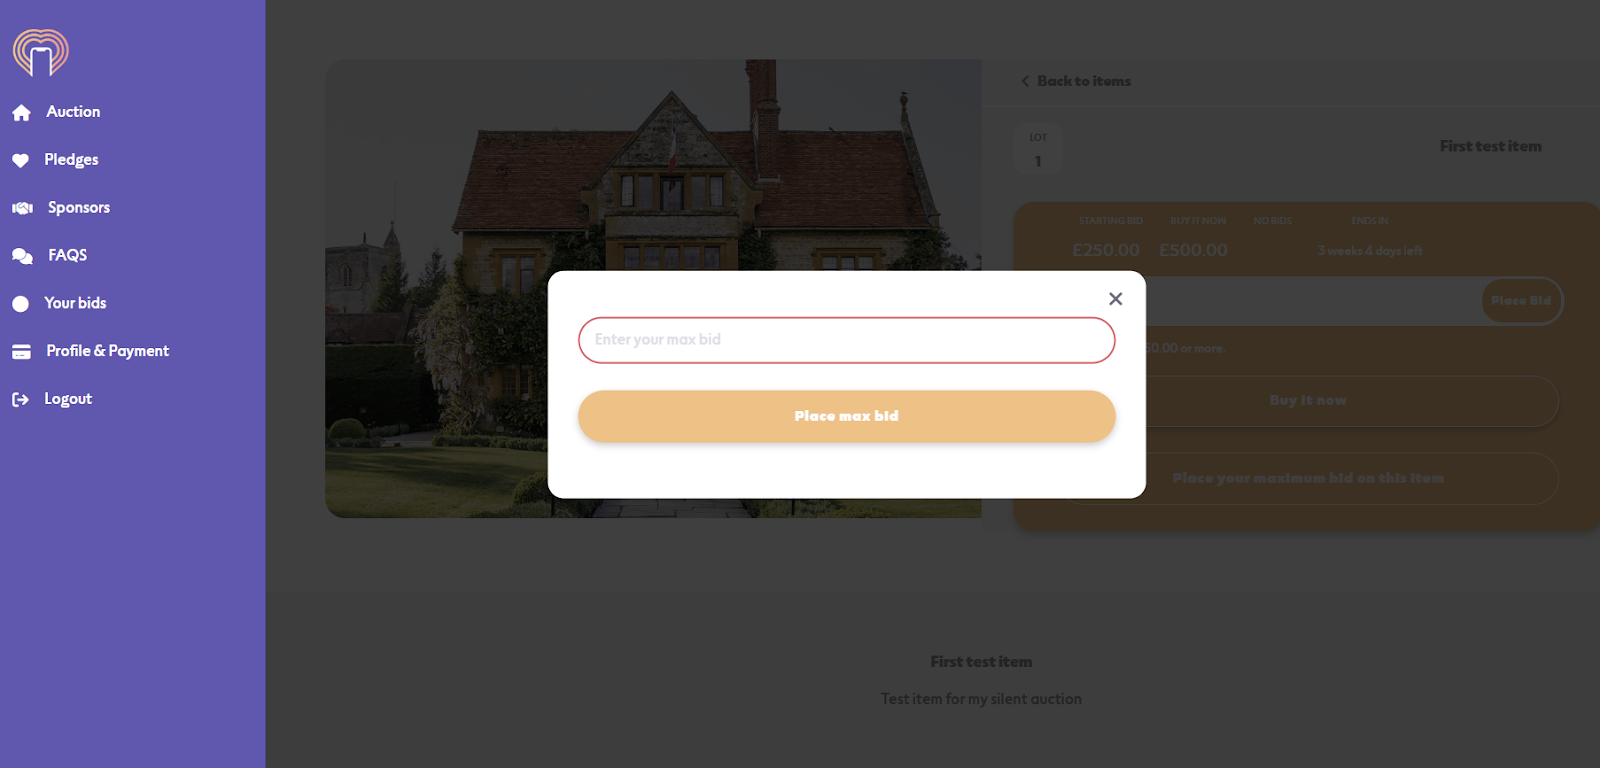
Setting a max bid
The max bidding function allows bidders to automate their bidding by setting the maximum amount they are willing to pay for an item. Each time they are outbid the system will automatically place bids for them, increasing the amount by the minimum bid increase set in the event setup.
Managing bidders and their bids during and after the event
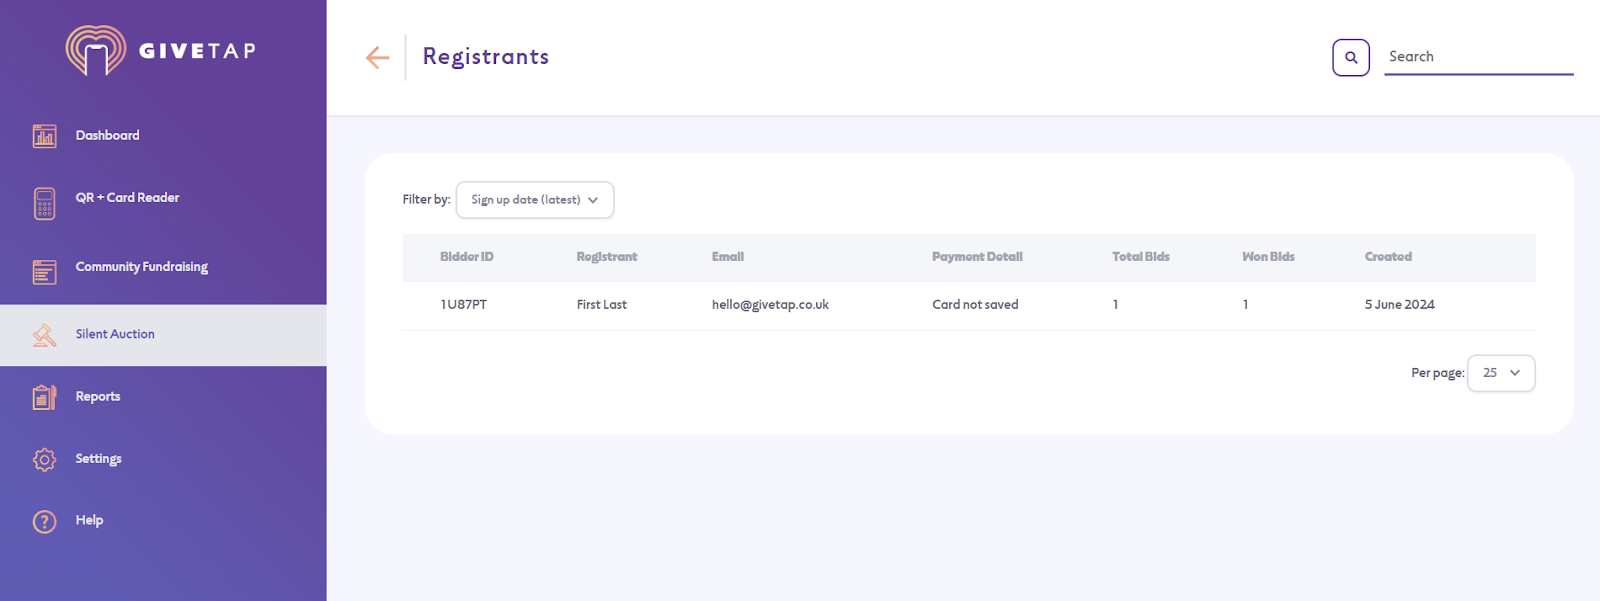
Registrant view
If you visit the admin panel you can see a full list of registrants in the event registrants view. This page lists the Bidder ID, Name, Email, Payment Detail, Total Bids, Won Bids and Created (creation date).
Item & bids view
The auction items list gives you a full list of your auction items and the current highest bid for each. You can also see a full list of bids on an item; whether a card has been saved on file; the current status of payment, and whether it is unpaid or paid.
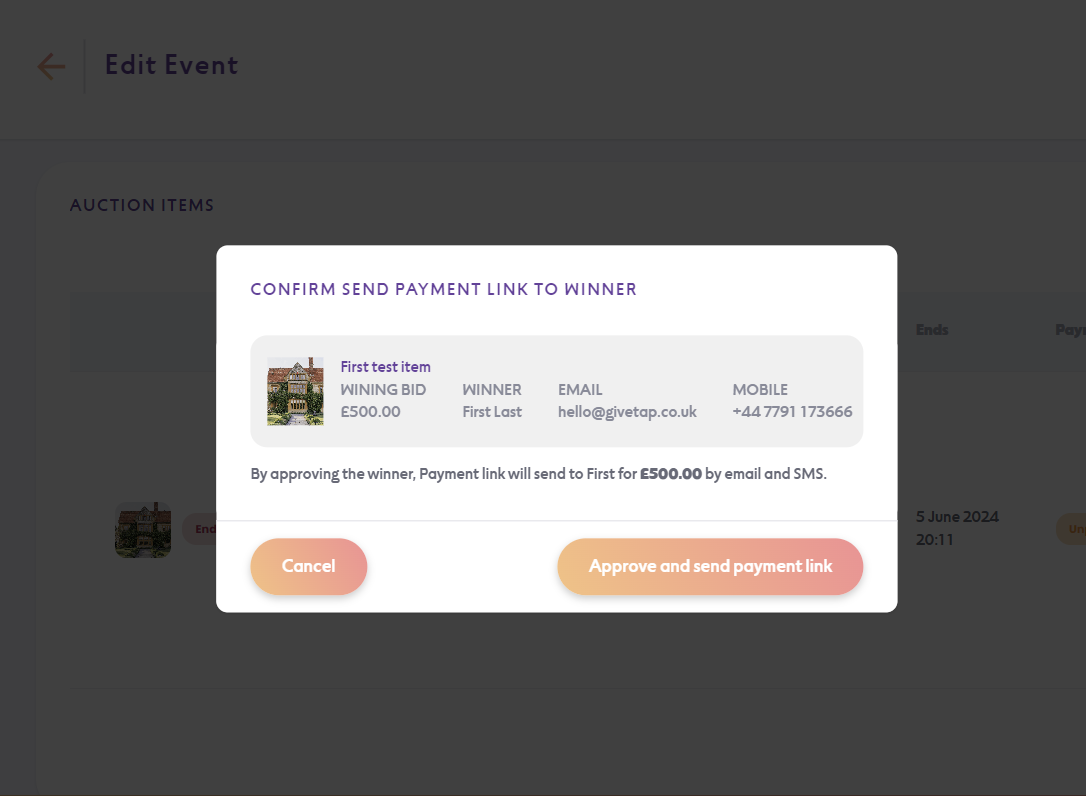
When the silent auction ends you will have the option to approve and process the payment. If a card has been saved on file then the system will attempt to charge that card when you click approve. If the payment is successful the payment status will update to ‘paid’ and an email confirmation will be sent to the winner. If the payment fails, or if no card was saved on file initially, an automatic email will be sent to the winner containing a payment link.

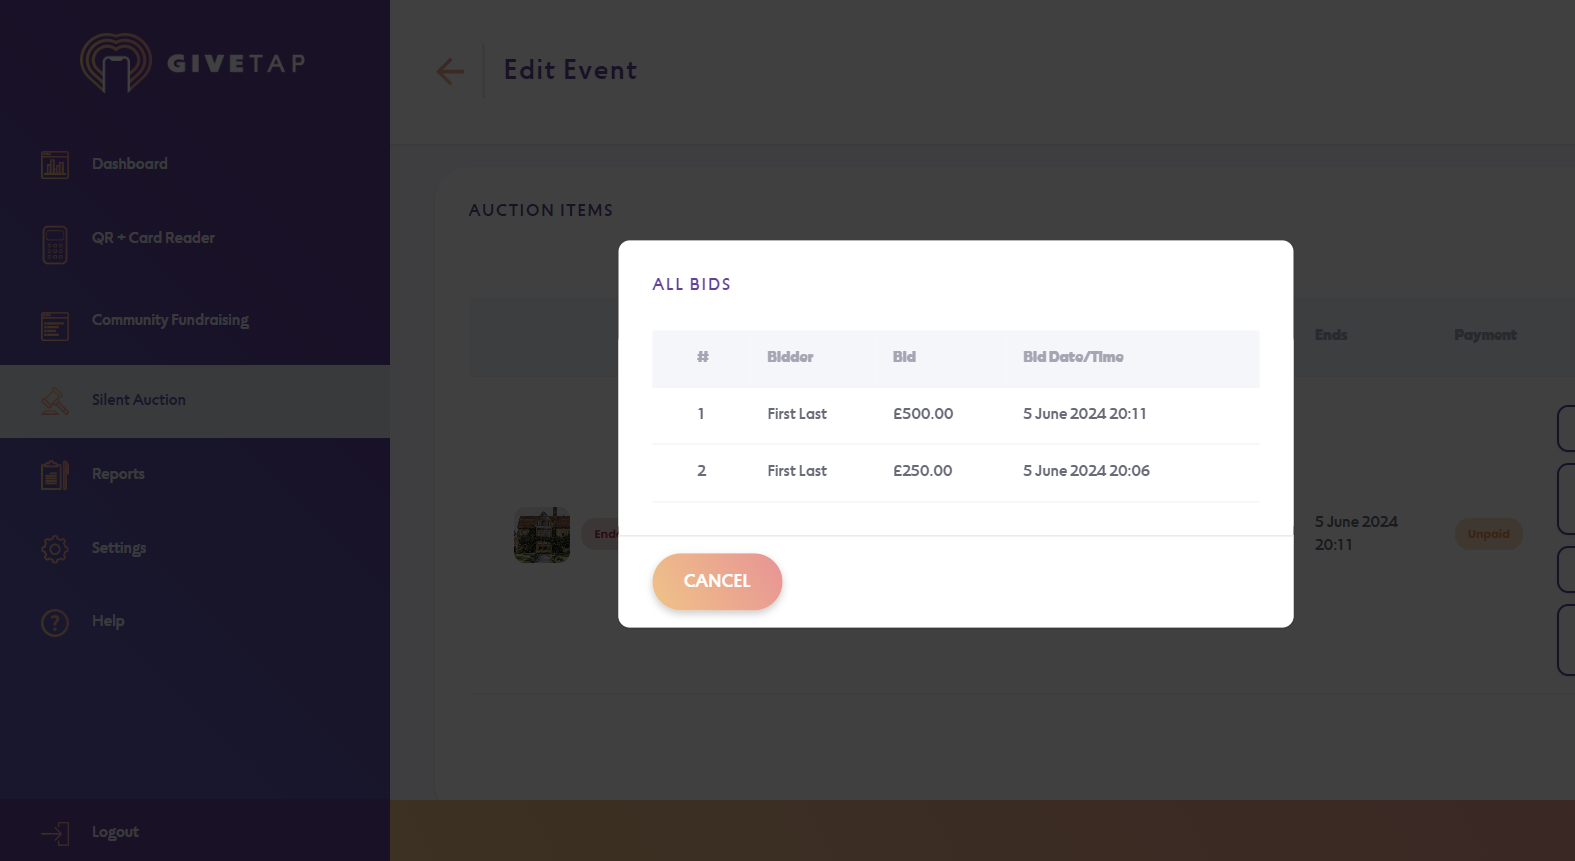
See bids
In this view you will see a full list of bids on a specific item in chronological order.
Contact unsuccessful bidders
When the winner’s payment is approved, an automatic email is not sent to unsuccessful bidders. Instead, you can click ‘Contact Unsuccessful Bidders’ to contact them en masse about that specific item. You can have the option to send an SMS message, email or both together. You can see a full list of the unsuccessful bidders that this communication will go to by clicking ‘See all’.
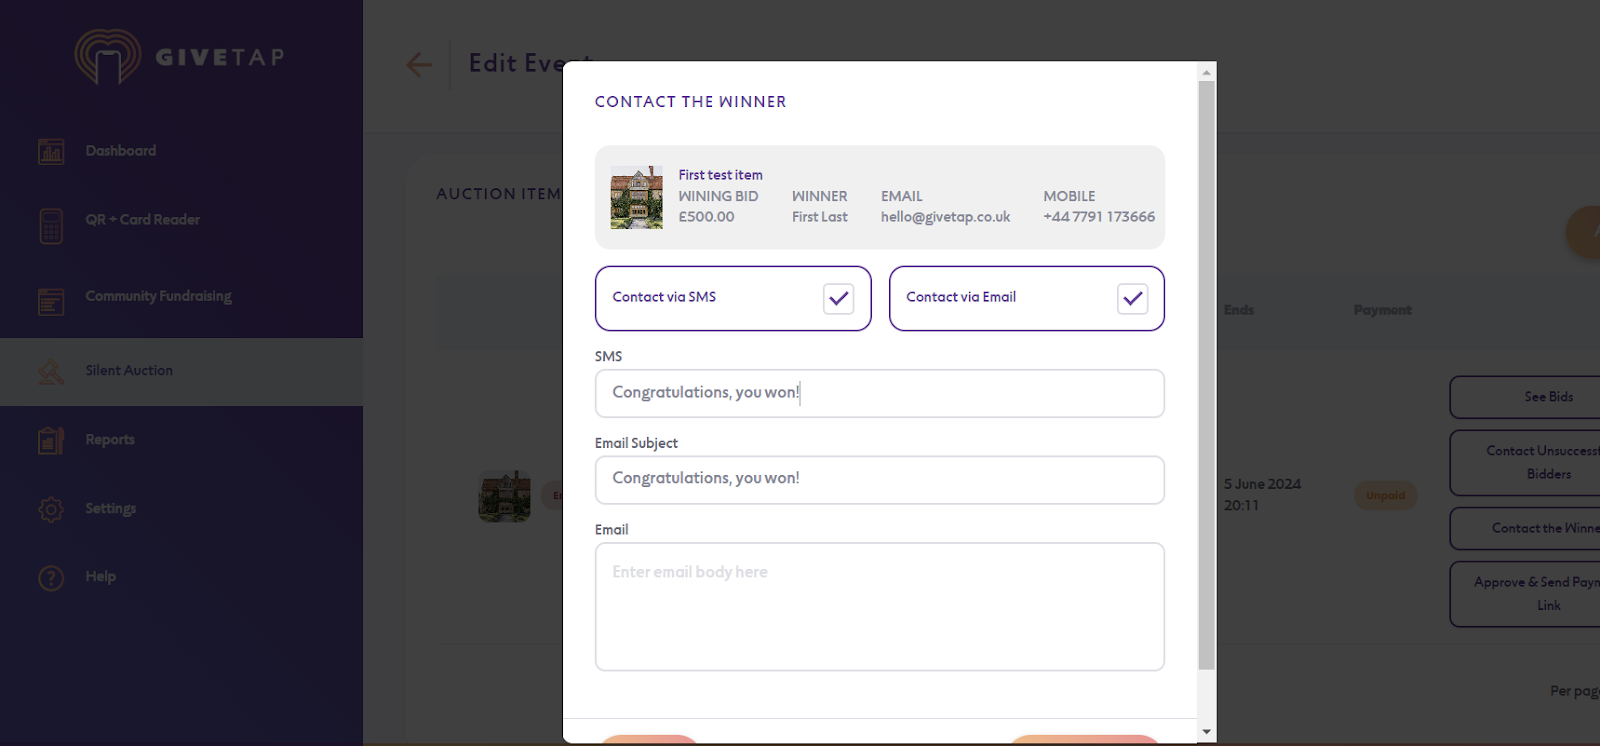
Contact the winner
The winning bidder is automatically contacted whether payment succeeds or fails, however the feature below allows you to send additional communications to them regarding their prize.
Approve and send payment link (card not saved on file)
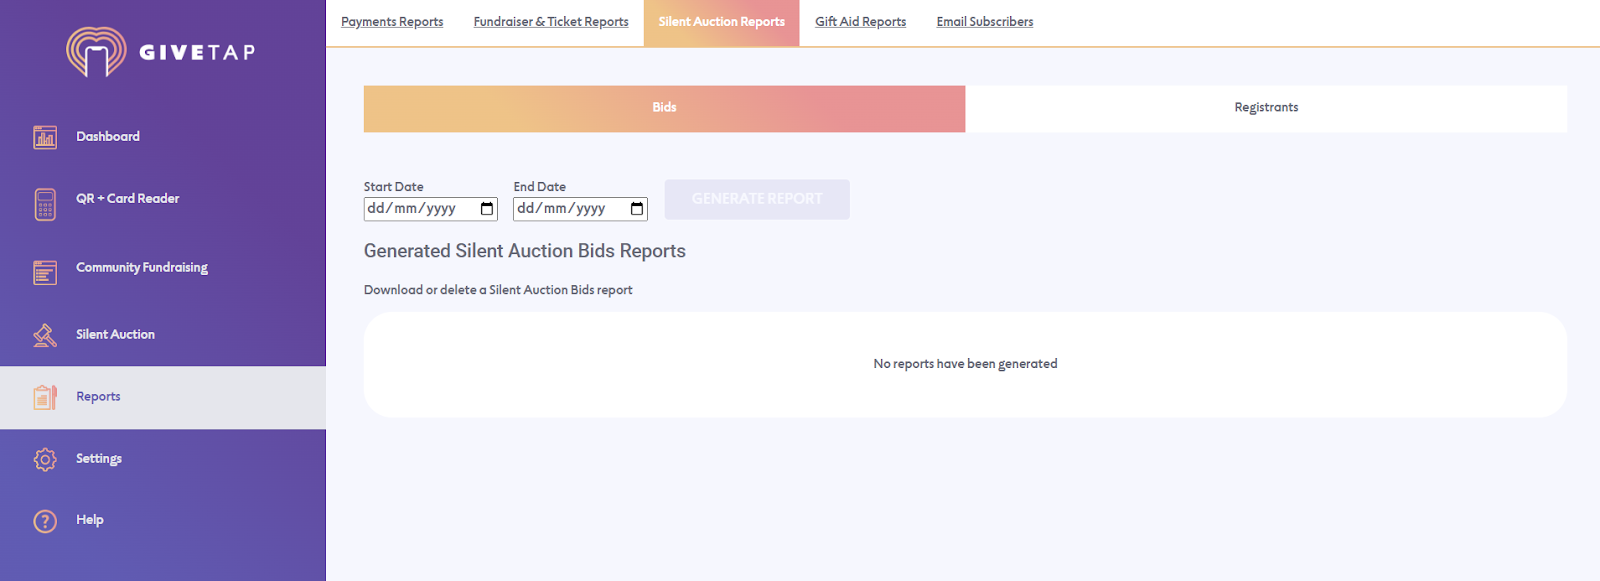
Exporting data
You can export data from your event at any point by visiting the ‘Reports’ tool within the admin panel.
- Any payments for auction items can be output in the ‘Payments Reports’.
- A list of bids for your items can be output from the ‘Bids’ report
- A Iist of registrants from your event can be output from the ‘Registrants’ report
When generating any of the reports, simply enter a date range, select the fields you would like to appear in the report and export the data to a CSV.